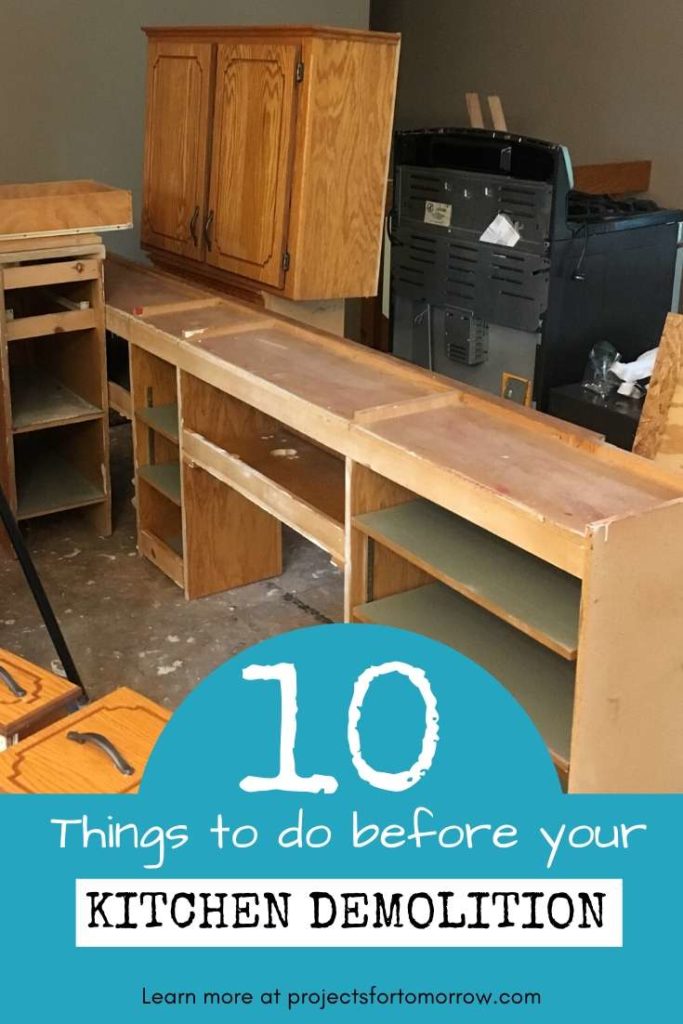
Demolition Day is right around the corner. You’ve planned, designed and made down payments. Your project is rolling!
But there are a few items you may have not thought of yet. So I’ve compiled a list of 10 ways to prepare yourself for that kitchen demolition.
1. Your Before Pictures
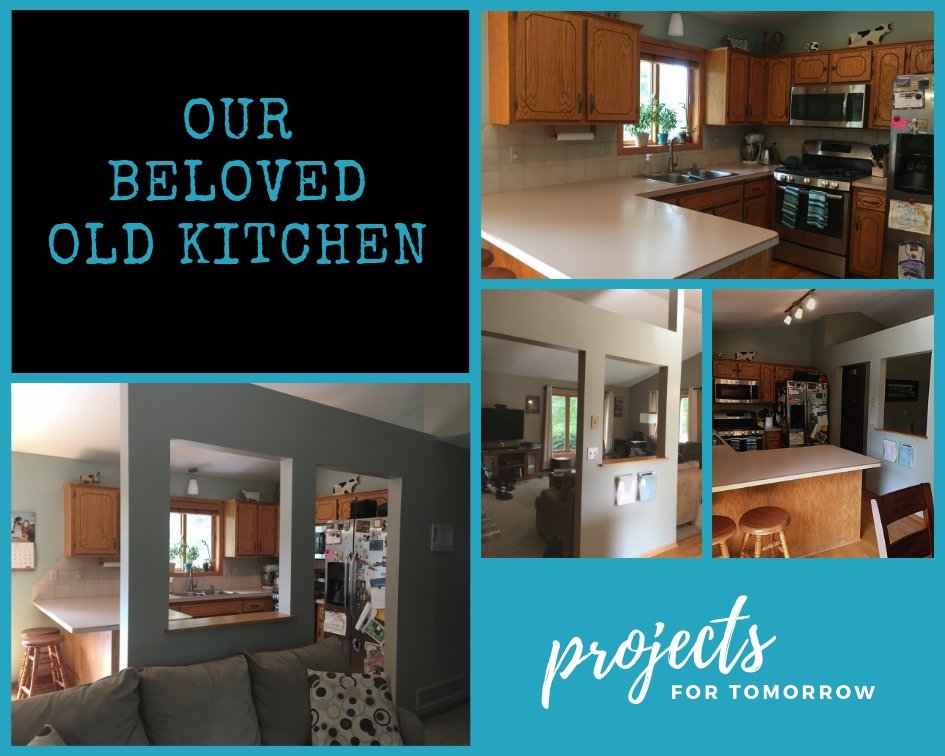
- Your very first step should be to take pictures of your kitchen.
These “before” pictures will come in handy when your friends ask how things are going. Everyone likes to see before and after photos.
2. Temporary Kitchen
Next, decide if you can fit in a temporary kitchen. You can anticipate 4-8 weeks of construction, which is a long time to go without a home cooked meal. (And quite expensive!)
- Find a space in your home where you can set up a table and be close to a sink. You can even use your existing kitchen table and voila, you have a storage spot for your table.
- Find a bin, cleaning bucket, or even a cheap aluminum oven roasting pan for helping with dishes.
Your temporary kitchen and living space will enhance your entire kitchen remodeling experience.

3. Small Appliances
- Then, add additional tools to make your temporary kitchen work. Invest in an electric skillet and a small microwave (if you do not currently have one.) Other counter appliances that work well in temporary kitchens: coffee pots, crock pots and Instant pots.

Every temporary kitchen needs a place to store food. You will need a cold storage and a room-temperature storage.
- You could borrow a mini-fridge or make the investment; small refrigerators are great for garages. Or you are like us and have a full size refrigerator in your basement.
- Find a bookshelf to store your snacks and pantry items or just keep them in bins close by.
Having everything in one place will make food prep a breeze.
4. Meal Plans
- Create a meal plan. (I know it’s hard!) Keep it simple by listing out all the meals you could possibly make and have those groceries on hand.
- Secondly, take that list and gather all the utensils and items from your kitchen to make those meals.
These tools become your “keep out of the storage box” items when you move on to the next step.
5. Temporary Storage
- Find those old moving boxes and box up items in your kitchen that will not be used during the remodel. Be sure to label the boxes as you may find yourself rummaging through them in week 6.
- If you don’t mind the paper and plastic for a few weeks, disposable plates, cups and spoons will make dishes all that much easier. You can then box up that much more.

6. Furniture and Decor
Most kitchens are attached to other areas of the house, these areas should also be prepped for construction.
- Move furniture out of the way. In our case, we added hardwood floors to our main level, so all furniture had to be moved to our basement.
- Take down everything you can off the walls. Anything non-essential was moved days before the big day.
- Décor, refrigerator magnets, curtains and curtain rods all came down and were placed in the furthest room from the demo. If you didn’t know this before, construction will make your entire house dusty. Don’t make more work for yourself by having to wash all your curtains after your kitchen is put back together.
7. Tools
Find the following essential items so you have them on hand throughout the remodeling process:
- a long extension cord
- a small shop vacuum
- work light.
- blue painter’s tape
If you are preparing ahead of time, you can find these items in most garages; borrow them from friends, family, neighbors, and invest in at least one roll of painter’s tape.
Why you may ask would you need tape? Here’s why! We used it for:
- To put up our zip-wall (plastic barrier between living area and bedrooms).
- To tape cardboard to the floor.
- To help make clean cuts during cabinet installation.
- To hold open cabinets before hardware installation.
- And of course for all the painting. This stuff is amazing!
8. Prep Space and Clean
- The day before your demolition team arrives, move everything else. This will take longer than you think! Move remaining furniture. Move all kitchen “keep” items to your temporary kitchen. This includes going through your fridge and throwing away those expired items; you only have so much space in your temporary fridge.
- If you are reusing your fridge in your new kitchen, as was our case, then wipe down your fridge. You want zero mold growth while your fridge sits empty.
- The same goes for your other appliances you are keeping. You don’t want the installers to have grease hands when they are trying to carry your oven back to its new spot.
9. Disconnect Appliances
- Disconnect your appliances. Only do this step if you feel comfortable with it. You can wait for someone else to do it; keep in mind, you will shell out some money for that step.
Some appliances are easier than others. In our case:
- we had a water hose that we let the plumber disconnect (from the fridge.)
- A gas hose that we disconnected ourselves (from the stove/oven) after we turned off the gas (very important!)
- We unplugged our microwave and took that off the wall ourselves.
- We also disconnected the dish washer on our own.
It was nice to get these items out of the way prior to demolition. Again, use caution when disconnecting appliances.
10. Cover Everything
You are almost finished, your final step before the big day, is to COVER EVERYTHING.
While your contractors may provide some of these materials, I valued putting it all down prior to D-Day.
- Lay plastic over the openings to other areas of the house. You can use the Zip-Wall as we did to make it more convenient to come through the hallway.
- Cover areas you don’t want painted, i.e. tv mounts and curtain rod holders.
- Cover the refrigerator or any appliance that you leave in your construction zone due to heaviness.
- Cover items in your garage; your cabinet workers will leave a coat of dust in your garage. (hot tip: use your leaf blower to send the dust outside!)
Prepare your house for its impending filth and it will easily recover.

11. Dumpster and Temporary Toilet
Here’s an honorable mention because you will typically have your contractor take care of this. But it’s important to have a dumpster and a temporary toilet for your workers. In our case, our contractor initiated the delivery of these items prior to D-day.

Conclusion
Once you’ve followed these simple steps, you are ready for your demolition day. Your anxiety can drop to normal levels.
Your demolition team, which could be friends, family or a paid construction crew, will be happy that you utilized their time and had your house ready for D-Day.
Do you have the confidence to get started?
Helping you plan for tomorrow,
~H.
Continue your Kitchen Demolition research by clicking here or on the image below.
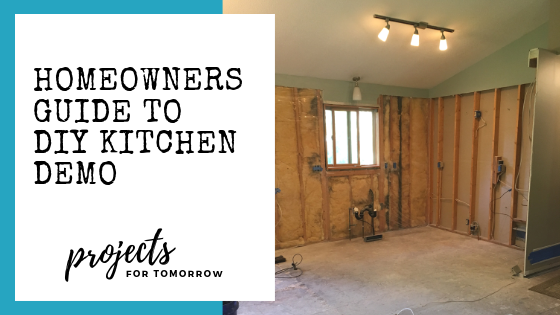
Continue to the Homeowner’s Guide to DIY Kitchen Demo by clicking here or on the image below.
Interested in learning more about the full kitchen remodeling process, click here or on the image below.


