Your house is ready for demolition. You’ve made the necessary preparations; your home is blocked off to the future dust and debris, your dumpster is open (if you have one that opens), and your tools are laid out to be used. Everything is set for Day 1 of your kitchen remodel, demolition day.
You hope one day that this is you, ready to go and prepared to take on your old kitchen. But if you don’t flip houses for a living, you may not know what to expect when you demolish a kitchen.
As a homeowner that has tackled her own kitchen, I want to share with you some key points that I learned and give you some expectation and tips to take away with you.

Before you Begin
Before you get to demolishing any part of your kitchen, be sure you do your due diligence and identify what you have to work with. You may be in for a few surprises but usually you can see what is under your floor either at your HVAC vents or under your dishwasher.
There are many types of flooring you may have in your home and you may even have multiple layers. Start by deciding if it’s easier to add on top of the existing flooring (as found in so many older homes,) or to rip it all out and start fresh from the sub flooring.
Here is Why We Started Fresh.
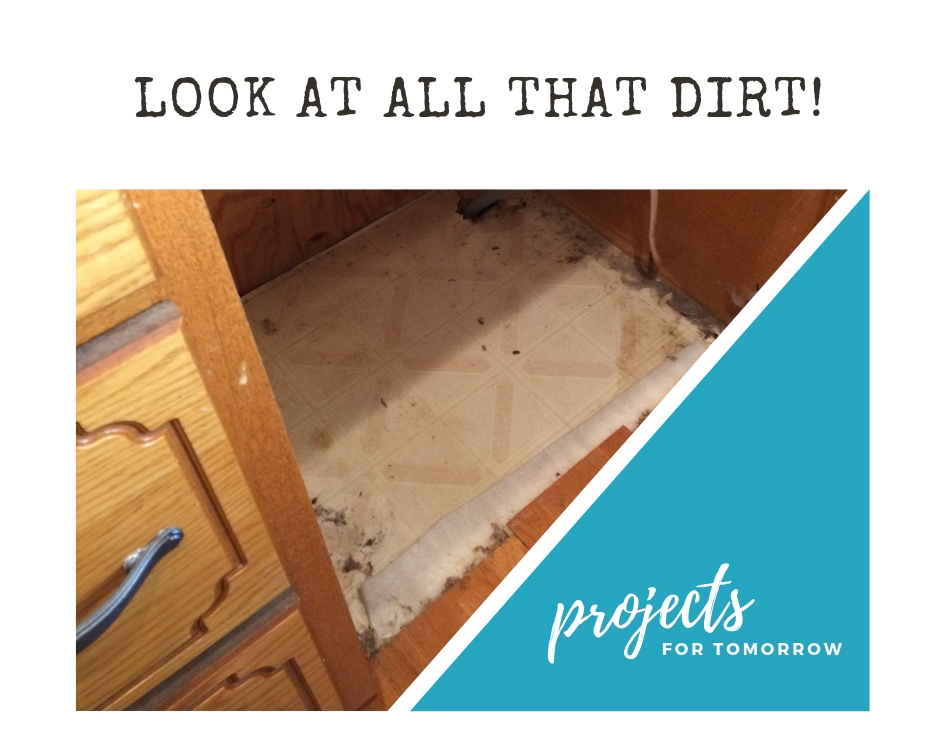
My husband and I found a not so clean floor underneath our dishwasher. We wanted the cleanest and most thorough renovation, so we pried all of our flooring up and started anew.
Why we Started with Flooring
Our demolition consisted of the entire main living area of our first floor: that meant carpet in the living room, hallway, and stairs, engineered hardwood and plywood in the kitchen and dining room and vinyl in just the kitchen. Phew! We considered flooring the most important first step so that we could move the appliances out of the kitchen and into the living room, out of the way.
Timeline
- The night before, we removed the baseboards from the kitchen and took off the transitional boards between the carpet and hardwood. (We left on most of the floor trim as we would eventually be adding quarter rounds to it and we didn’t want to risk breaking them.)
- When the helpers arrived, we ripped out the carpet with ease.
Carpet removal is a rather easy process with a little elbow grease and a utility knife.
- We cut through the carpet at the center of the room to create smaller rolls to carry out. The carpet and carpet pad rolling really only took one person and about 15 minutes. The rest of us brought the material out to the dumpster.
- Next, the four of us worked on removal of the staples and tack strips along the edges of the wall. It was simple but tedious.

Timeline Continued
- Next, due to its unwillingness to break apart (because it was all glued together,) we took a hand saw to the engineered hardwood and cut a line across the dining room.

Quick tip: use the hand saw to measure the depth of the floor prior to cutting. You don’t want to accidentally cut the sub floor!
- After cutting, we carried chunks of flooring to the dumpster.
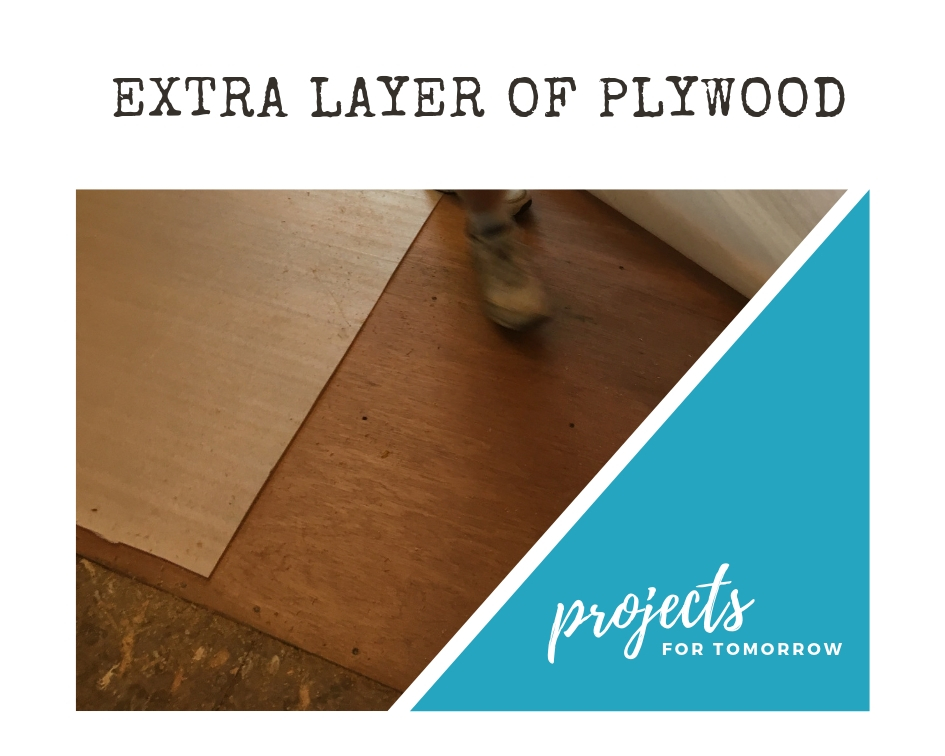
Underneath the engineered hardwood, we noticed a difference in flooring between the kitchen and the dining room; the kitchen had plywood and the vinyl sheet and the dining room had its own layer of plywood which we can assume was to make the dining room floor level with the kitchen. (We knew this wasn’t the kitchen’s first renovation.)
- We started by unscrewing all the screws from the plywood. Unfortunately it did not just come off; we learned that it was also glued to the sub floor! We used multiple tools to pry up the wood in small sections. For us, this task would take multiple days. 🙁
- Next, we removed the engineered hardwood in the kitchen. We made another cut across the floor and carried the wood in sections to the dumpster.
- We moved the dishwasher and stove to the living room and worked on removing the various layers of flooring. (We left the refrigerator hooked up to the water hose, but worked around it by pulling it forward and back.)
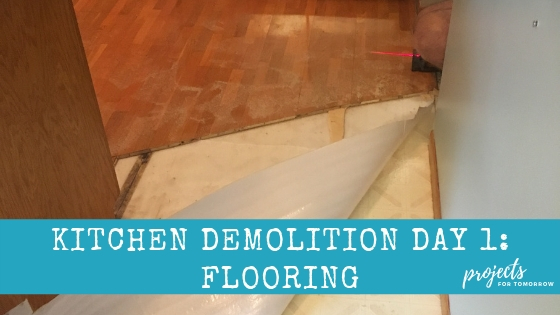
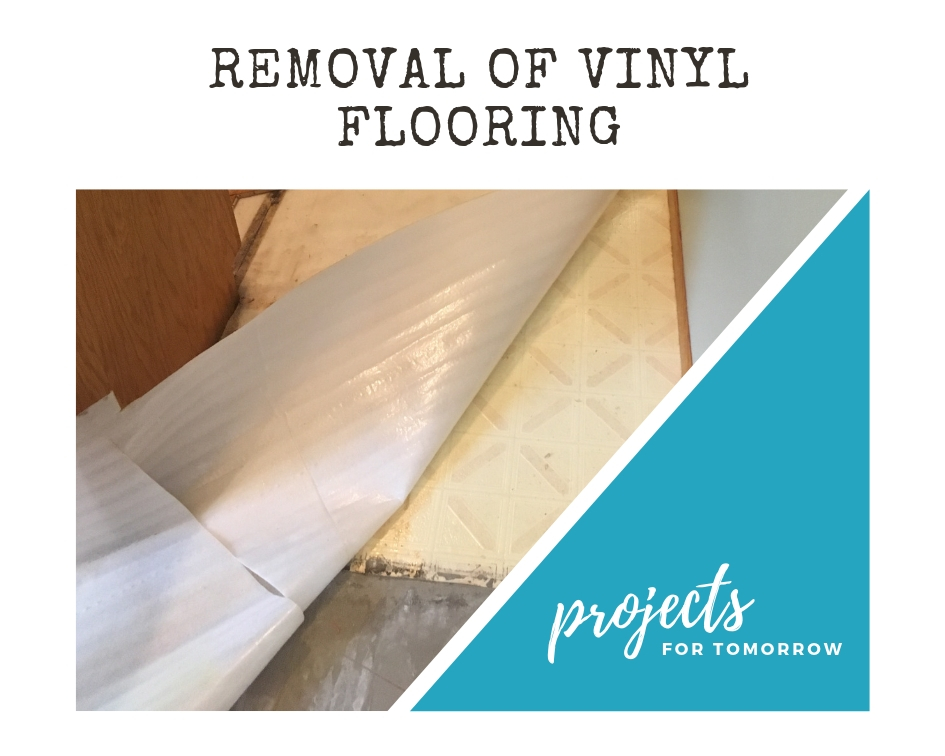
The multiple layers consisted of engineered hardwood, a plastic sheathing (as you can see in the below picture), the original vinyl sheet, plywood, and then the sub floor.
- The plastic sheathing was carried to the dumpster and then the real work began. The vinyl sheet could be torn in small sections, but it was glued to the plywood. It worked best to just use a crow bar and hammer to pry the plywood up.
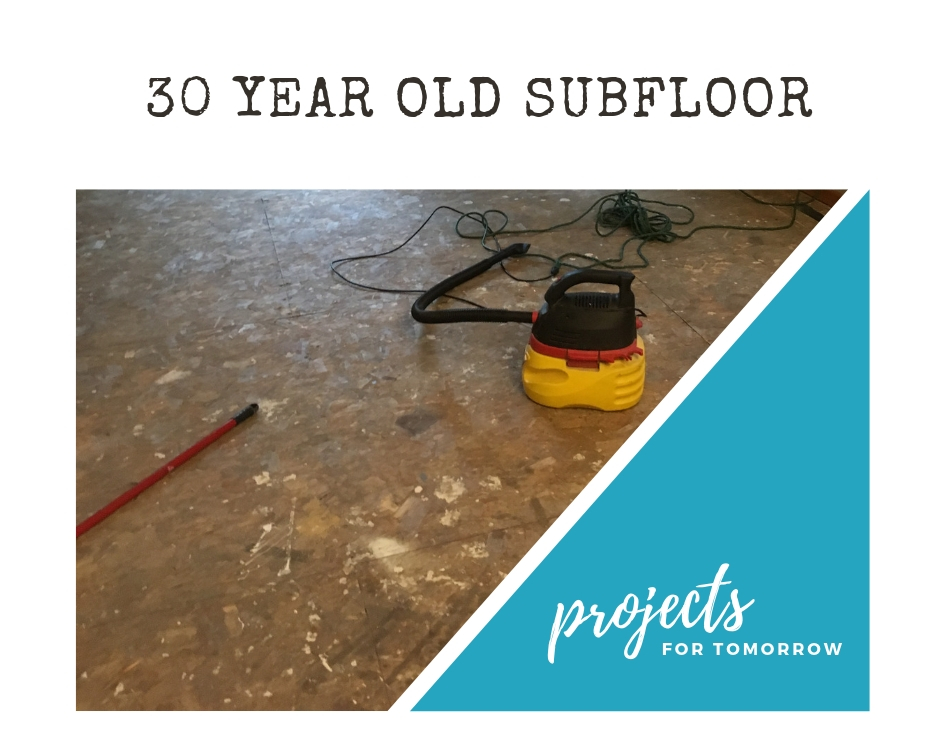
The plywood was screwed and nailed and stapled, but fortunately it was not glued down! With a little muscle, the plywood came up in chunks.
End of Day 1
We were thankful to have some family helpers during Day 1, as there were plenty of things to do and a lot of tedious work. If you tackle this alone, be sure to give yourself an extra day or two.
We all have lives outside of our home. Create your schedule to fit your needs. Day 1 began after my first day on the job and a trip to the emergency room for my 7-year-old son. (He put is tooth through his lip at school; no work accidents so far.) It was an epic day, ending in pizza and visible progress!

Flooring Demolition Tips
Here is what I learned:
- Flooring Demolition consists mostly of prying the flooring off with a crow bar. While time consuming, anyone can do it.
- Flooring was the most practical to do first as it allowed us multiple days to attend to the glued on plywood. We were able to work on it in little spurts of time and finished before the contractors came.
- Having the right tools can be a huge time saver. See below for my Tools Used section.
- We saved $250 by disconnecting our stove/oven ourselves. (Be sure to turn off your gas prior to removal though.)
- We also carefully removed the microwave ourselves and kept all the pieces in a Ziploc baggie. We even kept the piece of plywood, which later was added back on for stronger support and helped the microwave stick out far enough to open the door.
- Have water and snacks (or pizza!) to reward your helpers. This kind gesture really goes a long way.
Tools Used in Demolition

We used the following tools to demolish the flooring:
- crow bar large
- crow bar small
- large ice scraper
- hammer
- utility knife
- circular saw
- garden foam pads for knees (optional)
- knee pads (optional)
- screwdriver
- staple remover
- utility bucket (for scraps)
- shop vacuum
- broom and dustpan for clean up
Conclusion
Day 1 of our kitchen demolition took roughly 4 hours with 4 helpers. We were able to pull up our carpet, the engineered hardwood, vinyl sheeting and most of the plywood.
We learned a lot during this process and I hope these key points are helpful for you as you start planning your kitchen demolition.
Helping you plan for tomorrow,
~H.
Continue reading Day 2 by clicking here or on the image below.

Go back to the main landing page here or by clicking on the image below.

Interested in reading more about the Kitchen Remodeling Process, click here or on the image below.