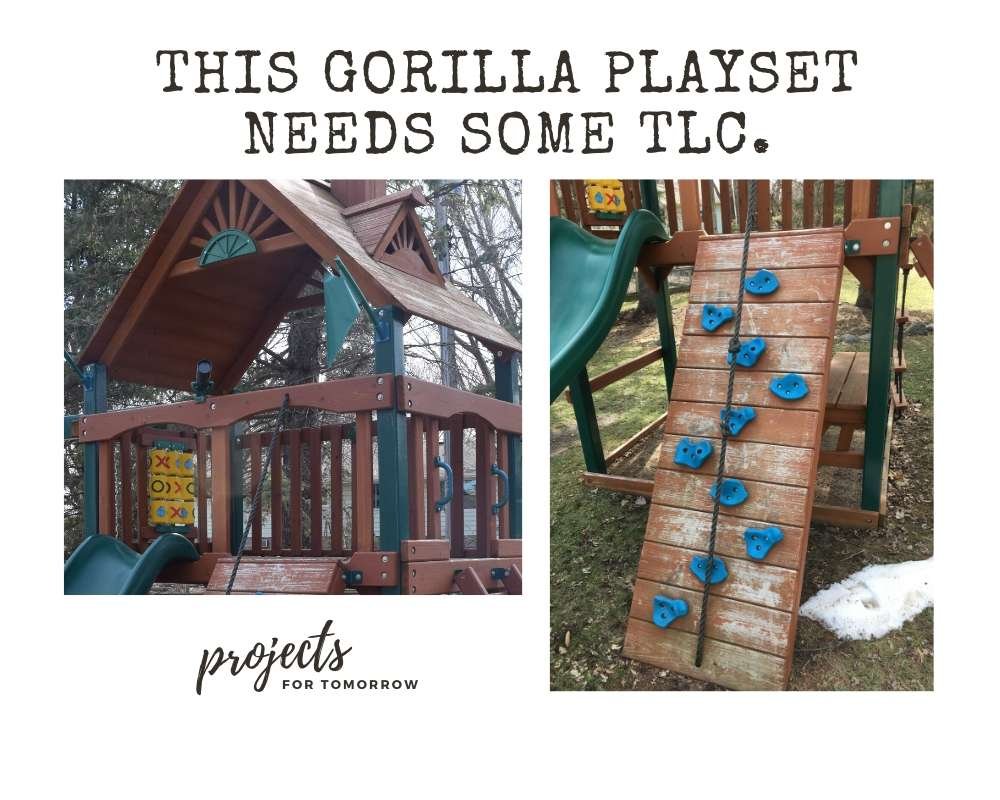
Yo Ho Ho and a bottle of rum! That just might be what you need after you see how your nice new wooden playset has deteriorated due to the weather elements.
One swig for how fast the color fades from that beautiful cedar wood. And one swig for all the cute little accessories that have either ripped or broken off. Your kids are menacing pirates after all. Why not give them a ship worthy of such frolicking scallywags?
As the hardworking crew, you first need to start your project with a certain amount of research, and what better place to start than the internet.
You will want to find answers to the following questions:
- Materials Needed?
- When to tackle the project?
- How long it will take?
- How to do it?
As a playset owner for the past five years, I have stained the set twice. This third time, I decided to stain it a solid color and give it a little pirate pizazz.
Keep reading to learn about what I found and what steps I took to turn my kid’s playset into a brand-new looking pirate ship.

What materials will be needed?
While I like to send you tidbits on what and where I buy my products, do know that if you click an affiliate link on this page and make a purchase, I may earn a small commission at no additional cost to you. See my disclosure policy here.]
To start, make a list of what materials you will need. (some of these are optional).
- Screwdriver
- Rag or sponge
- Bucket of water and vinegar (1:1 ratio)
- Water hose or power washer (here is the one I use)
- Sand paper or small power sander
- Blue tape
- Your favorite stain (1 gallon should be enough)
- Paintbrush
- One-handed Paint bucket
- Paint can opener and stir stick
- Disposable latex (or non-latex) gloves
- Ladder
- Clothes that you can ruin (with stain).
- Additional playset accessories (we added new skull flags, a pirate ship wheel and some homemade signs)

When is the best time to stain your playset?
Stain will dry the best in an outside temp of 50-85 degrees. Here in the Midwest, that means you stain in the spring or the fall.
You will want to check with your local weather man to determine when you will tackle this project as you will need about two good weather weekends. Your ideal conditions are cloudy and around 70 degrees. (You do not want the sun and wind to dry your stain before you can brush it into your wood.)
Fortunately, the two weekends do not need to be back to back; it took us a good three weeks between the scrubbing of the fort to the time we stained it because of all the rain we received.
Further, based on the brand you choose, you may need 3-4 dry days in a row. It will take two dry days before you start so the wood can really dry out and .5-1 days after for your stain to dry.
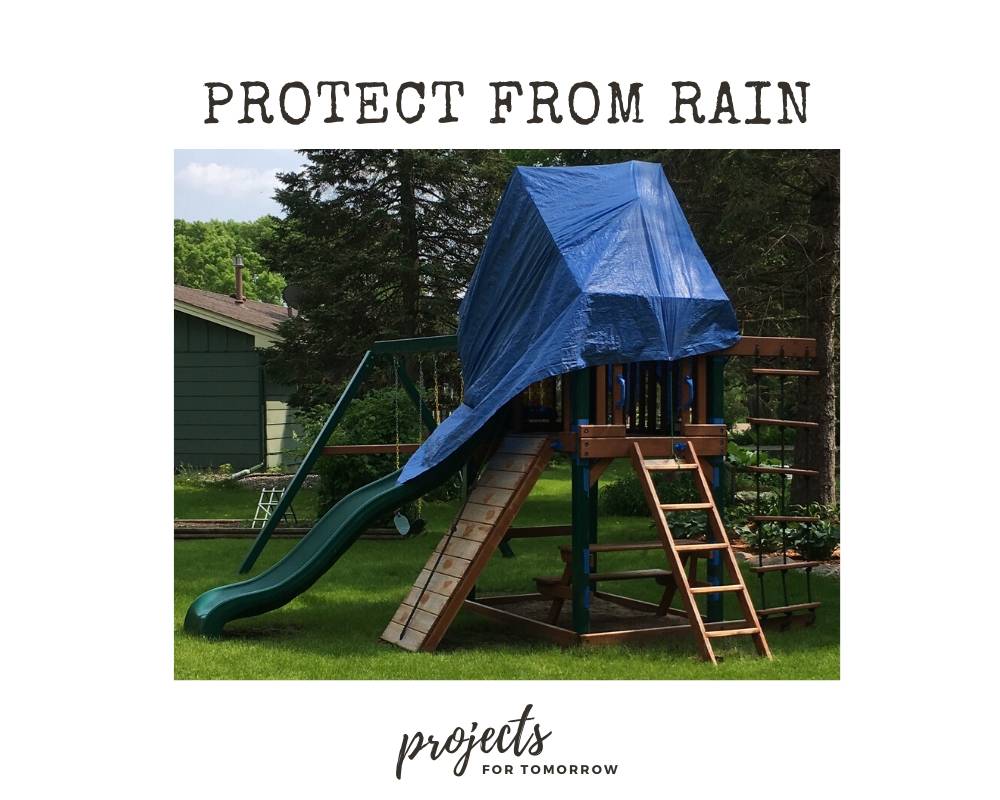
If needed, before you begin staining, you can cover the fort with a tarp for protection from the elements. (We had a 10% chance of rain the night before staining.)
How long will this take from start to finish?
The length of work this project will take will vary by tools used and how fast you can accomplish each task. But here is an approximation of what it took me.
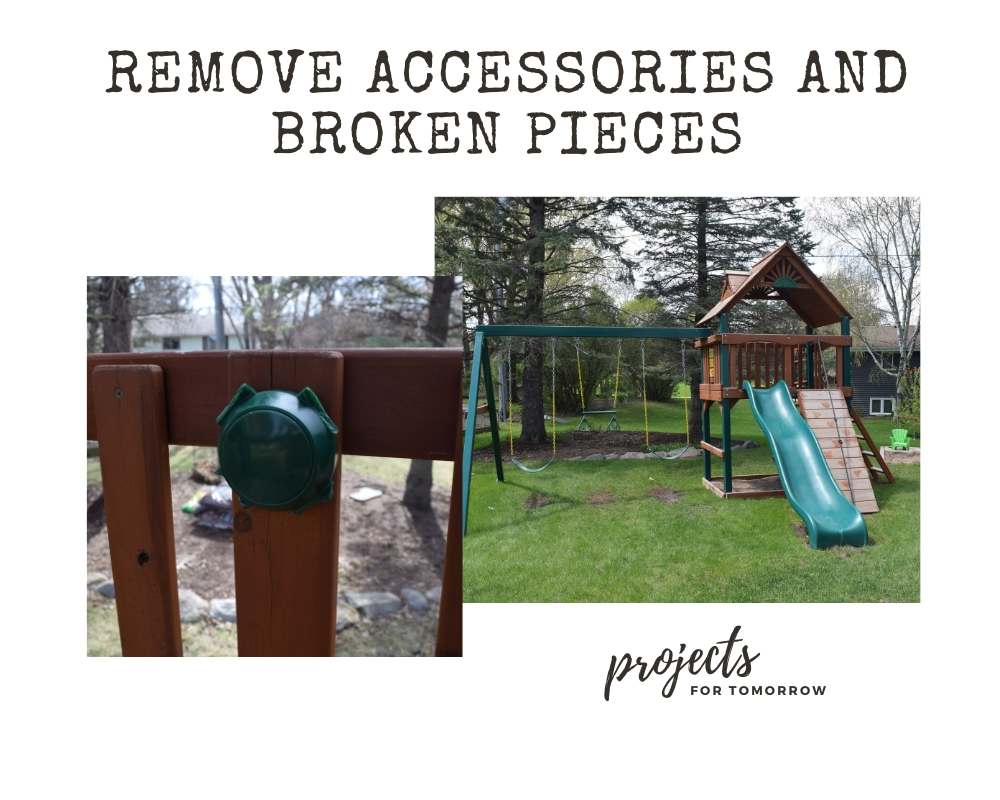
1.Unscrew rock climbing pieces, telescope, wheel and flags (etc.). Take this time to look at all hardware and loose boards. (45 minutes)
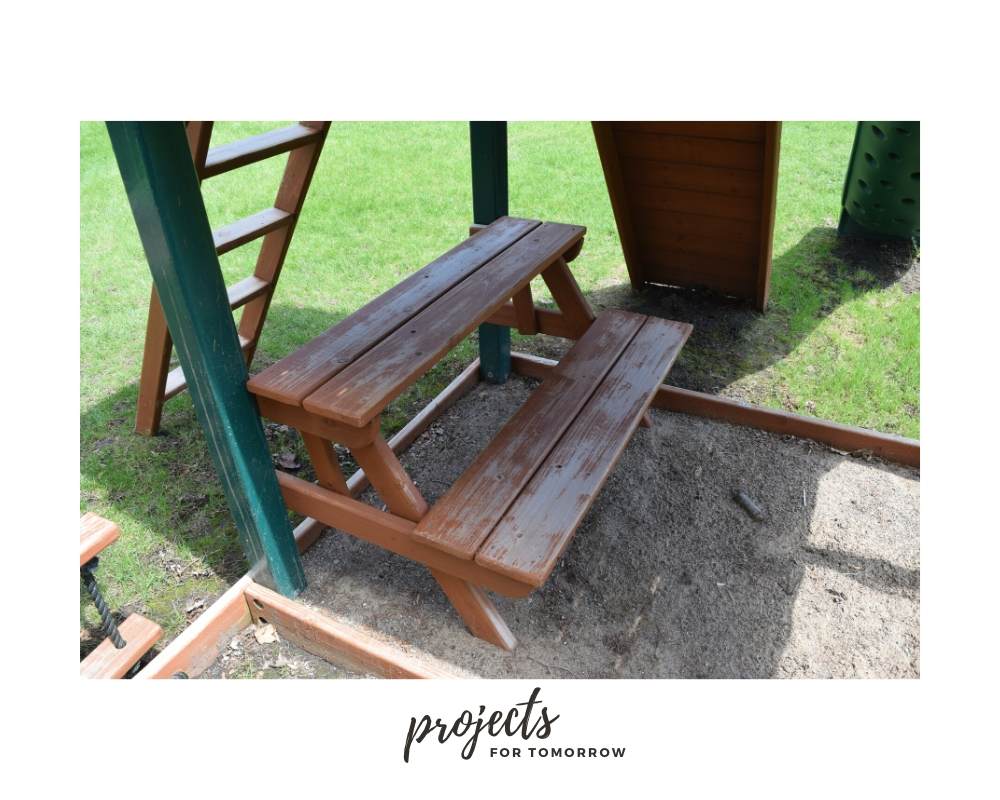
2. Wash all fallen debris out of the fort. (5 minutes)

3. Swab or scrub mildew off roof, sides, and platform with a mixture of water and vinegar. (5 hours) [Our roof was pretty bad].
How long it takes to wash your playset will be determined by what tools you use and how much mildew you have to scrub off.
4. Power wash all wood. (5 minutes)
5. Once dry, power sand rough areas. And rewash with hose. (10 minutes)
6. Once dry, add blue tape to areas you don’t want painted. (45 minutes)

7. Test out stain options and buy best choice. Then mix your stain and set up your ladder. Apply stain with paint brush (starting at the top and working down.) (10 hours)
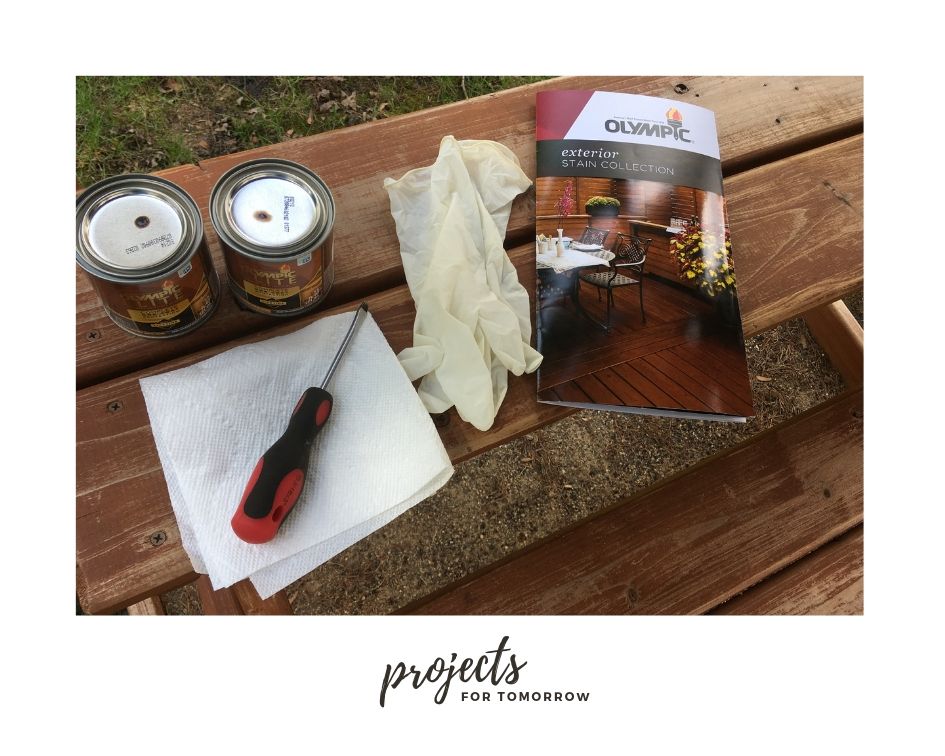
Staining your fort will depend on how big it is and how much of it is made of wood.
Our set is on the smaller side, but our entire roof is made of cedar, which is why it took so long.
8. Once dry, you can remove the blue tape. (30 minutes)
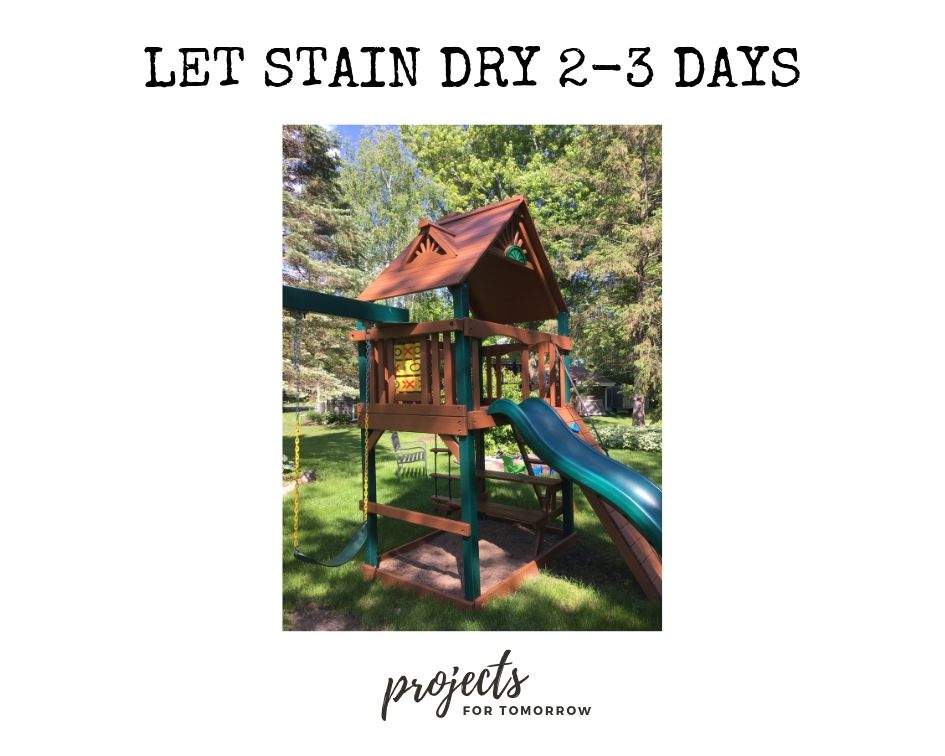
9. Use screwdriver and other tools to install accessories. (1 hour)

Should you add a sealant or a stain to your playset?
This was one thing I didn’t know before starting my research. I learned that sealant is clear and stains have a tint of color to them. Both are recommended by playset manufacturers to be updated once a year. Sealants can be sprayed or brushed on but stains should be brushed on.
If your wood has not faded yet, a clear coat of sealant can protect your wood for another year. I found after the first year, that most of the wood was still sealed.
Splash a small amount of water on the wood to see if it beads up, if so, your wood is still good.
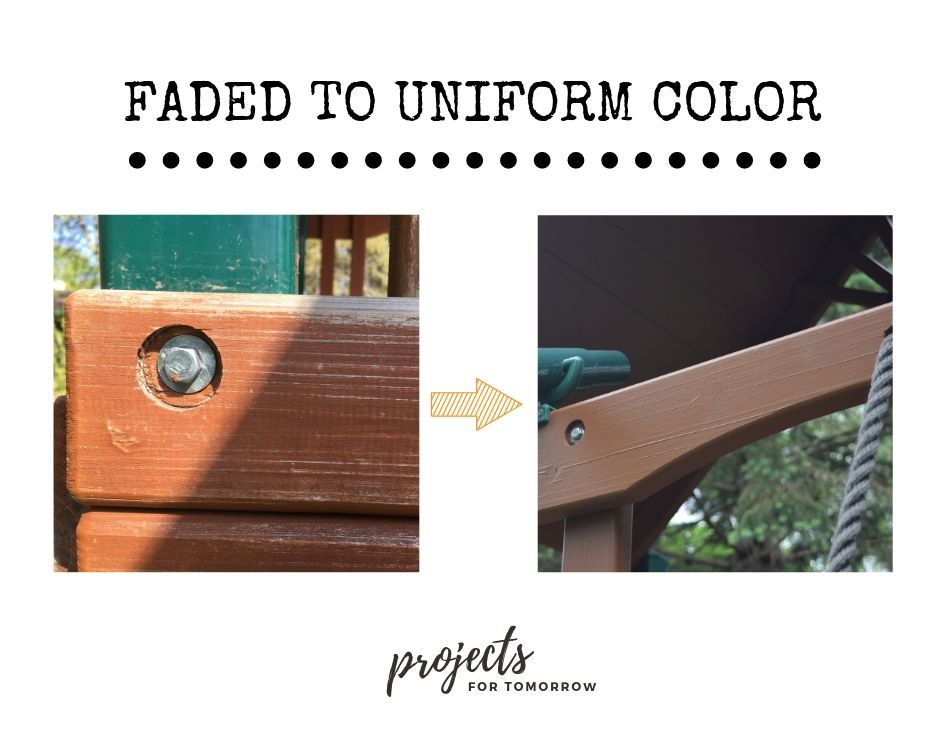
If your wood has faded from the sun or from little feet, then you may want to tint your wood with a transparent stain or go my route and use a color stain. You lose some of the grains in the wood, but your playset will have a uniform color.
How to have a shipshape restoration?
Staining a playset should be done methodically.
Here are some tips when prepping…
- While cedar is very strong, you can still gouge a hole in it if you power wash too hard. We were able to just use the hose nozzle on “Jet”. See your power wash instructions for use.
- Lift your wooden ladders off the ground with a utility ladder or a small table.
When staining…
- Work from the top down.

- Plan your route so that you will be able to reach all areas needed.
- Use a decent synthetic bristle paint brush that’s medium size: big enough to cover a lot of ground, but not too big that it’s too heavy for your wrist.
- Hold the brush in the middle of the handle.
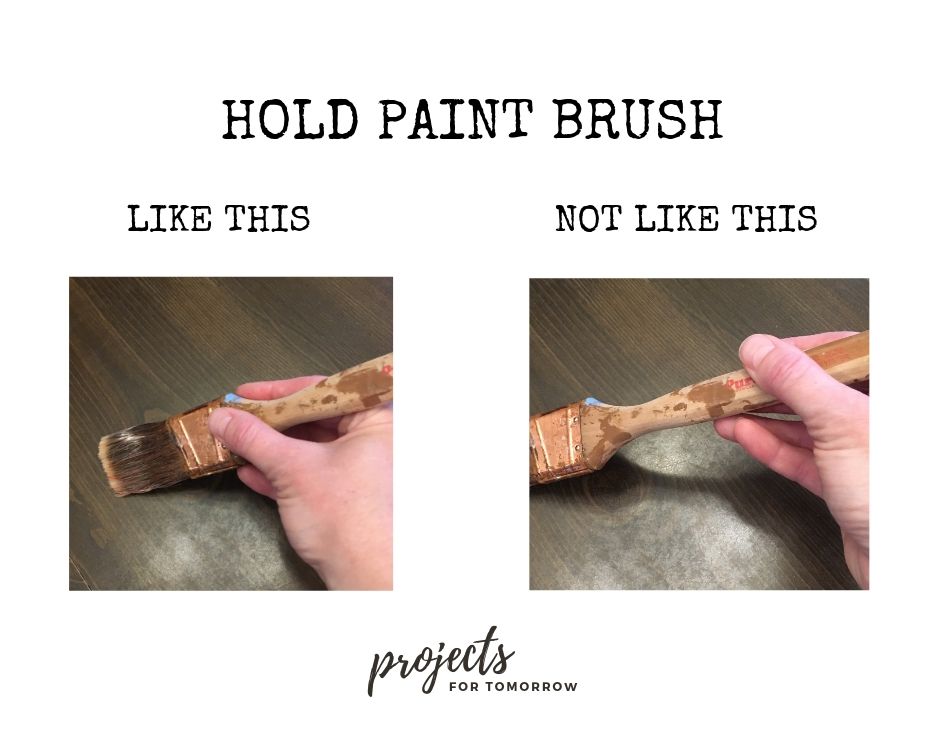
- For convenience, use a mini paint bucket to hold the stain in one hand and your paintbrush in the other.
- Heave Ho! Apply the stain using a paint brush and then go back over it with force to rub the stain into the wood. Watch for globs and paint splatters as they can dry and leave raised spots in the finish.
- Use a plastic ziploc bag to hold and seal your paint bucket and paintbrush when you take breaks.
When finishing…
- A bungee cord over the handles above the ladder worked well to keep kids off the playset until it was dry.

- After the wood has dried, you can go back over the plastic parts of the playset with a damp cloth to clean up any stain. It should (for the most part) scrape right off.
Conclusion
Returning your playset to its newness glory, while time consuming, can be very rewarding.
But if you find your playset cannot come back from davy jones locker, maybe it’s time to buy a new one.
Your final steps of this home project will be checking for areas you missed (I missed two small sections :P) and putting the accessories back on.
Make it your own by finding new accessories on-line or make your own.
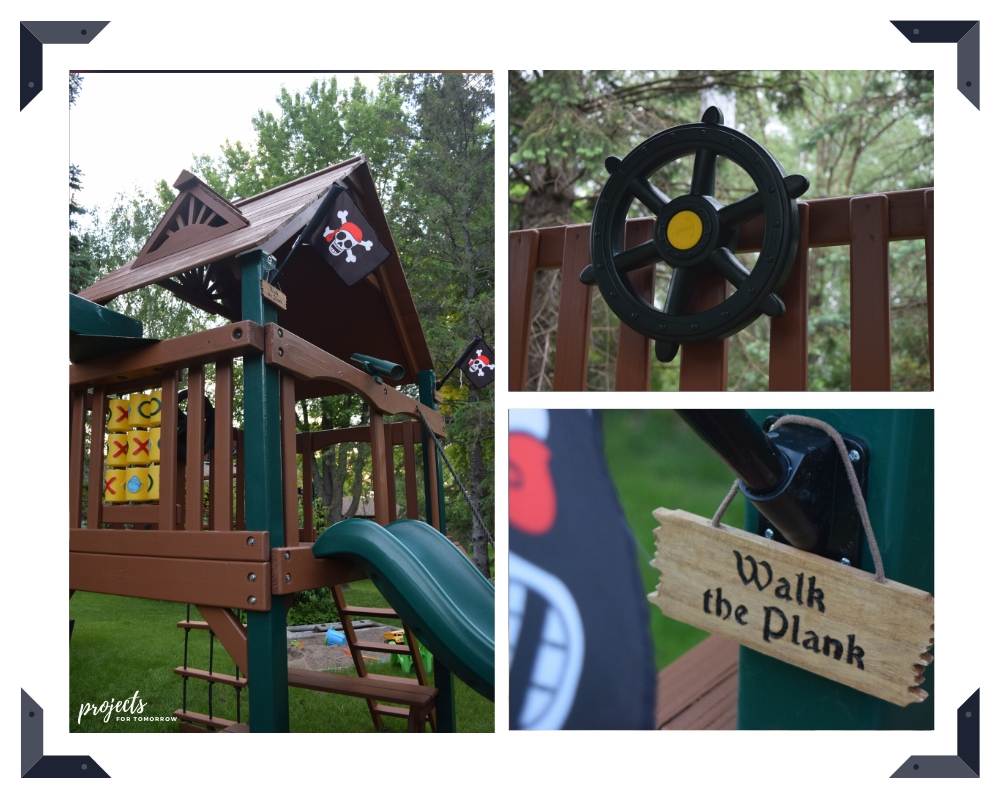
You will find your buccaneers itching to get back up there before you are done.
Helping you plan for tomorrow,
~H.
Interested in learning more? Check out how to create an in-ground sandbox!
Enjoyed this article? Share it to Pinterest!



Ahoy matey! That article was spot on!