Your children may love playing in the sand, but one day you realize, they have grown up and no longer fit in their sandbox.
Their creativeness is haltered by the 4 sides of the small box and the lack of “good workable” sand. You’ve been there, trying to make a sandcastle and the fine sand just falls down the sides.
It may be time to…

Ready-made sandboxes can be expensive and you still have to build them yourself.
Why not build your own from resources from your local hardware store.
And here is how!
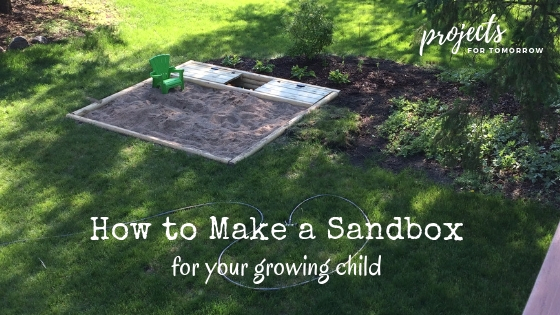
Step One of Project Planning
First, start with your design and answer the following questions:
- How big do you want your sandbox to be?
- Where could you put your sandbox in your yard? Don’t forget to look at privacy, sunlight, and low spots (for flooding).
- What kind of budget do you have?
- Do you want to incorporate a storage solution for the toys? How much space would you need?
- Do you want your sandbox to be above ground or in ground (such as mine)?
Draw out your layout in a notebook or piece of paper. The more drawings you do, the more you will find out what you really want.
Tips: Be detailed in your drawings. Use what is available at your local lumber yard; timbers are usually 8 ft long and without cutting, you can make an 8×8 box. Think it through before you buy your material.
Step Two
Secondly, you need to gather your materials. Make a list of materials you need and pick them up from your local hardware store or lumber yard.
These are the materials I used:
- 20 Treated lumber timbers
- Two boxes of Outdoor common spike nails
- Wooden stakes (four if you are doing a box)
- String
- Landscaping fabric (to prevent weeds)
- Sand (this you will get later!)
Materials for the storage area (if you so choose to make it):
- Multiple lengths of construction screws (for the storage doors).
- 6x 2×6 thick deck boards 3’ in length
- 2×2 treated 8’ board (for the storage doors)
- 2x 2×4 treated 6’ board (to hold the doors in place) or buy one 12’ board and cut into 3’ pieces.
- (small) .5×1.5″ treated 4′ board
- Hinges (at least two, we used six 😊)
- Rock pebbles
Step Three
While I like to send you tidbits on what and where I buy my products, do know that if you click an affiliate link on this page and make a purchase, I may earn a small commission at no additional cost to you. See my disclosure policy here.]
Next, make a list of tools you will need. Hopefully you will have most of them, but if not, you can borrow from a neighbor, friend, family member or decide to purchase one.
These are the tools that I used:

- Shovel
- Wheelbarrow
- Hand saw
- Hammer
- Drill
- Level
- Extension cord
- Sander
- Safety gear (goggles, work gloves, and breathing mask)
- Measuring tape
- L shaped measuring stick
Step Four
Once everything is in your possession, you can start preparing for your build. Some examples of this could be making sure your hand saw is sharp, sanding down the timbers (remember to use your safety gear), and plotting out your spot in the yard with stakes and string.
If you have decided to build an in-ground sandbox or your yard is not level, then now is the time to start digging. Use your string as your guide to make a square (or rectangle) box. Once you have your perimeter dug out, you can remove the string and stakes. Use your leveling tool to make sure the bottom of your box is level.

Note: If you are digging up a grassy area, re-use it! Find other areas of the yard that could benefit from a patch of grass. Don’t forget to water it!
Our hole needed to be roughly 12 inches deep, because that was the height of 4 landscape timbers stacked high. The timbers may vary in size, but my store had them at 3 inches high and 3.5 inches wide.
The sandbox is on a hill, so we measured to the depth on the deepest side and then leveled out the ground to find the depth of the backside.
Fortunately, we had another area of yard that could use the extra dirt that we were digging up and we used our wheelbarrow to transfer it over.
Step Five
Your planning phase is over, and you are ready to get started on making your sandbox.
Start by laying out your first layer of timbers. Then, lay down the landscape fabric over the timbers to hold it in place.
Lay down the next layer of timbers crossing over the previous layers so that the ends overlap. Hammer spike nails into a few connecting points to seal the two timbers and the fabric together.
Next, lay down another layer of timbers and hammer in one or two nails in at different points than the previous spots.
Lastly, lay down the final layer and hammer at least three common spike nails into the timbers to hold it together.
Your box is complete. Add sand and your kids are ready to go!
Making a sandbox with a storage unit.
Or you could go a step further and make a storage box within the sandbox. You use the above plans however, lay a timber down on the ground prior to covering the ground with the black fabric. Finish your outside box as mentioned above.

Make note: each of these inside timbers will need to be cut shorter. We found it best to measure the board within your completed perimeter and then cut. This prevented any gaps.
Then, you will build up the inside wall with 2 layers of timbers and common spike nails. Next, firmly connect the wall to the outside box by drilling 2 or more screws into the timbers sideways into your outside perimeter. To finish off the wall, add the last timber and the three spike nails.

Making the Storage doors:
Your storage doors will be the hardest part of this project. (It took us the better part of an afternoon.)

Start by cutting your 2×4’s if you haven’t already. You could make one long board across the back or cut it into two 3’ boards as we did. You could also create two 4’ boards if you wanted your storage door to go all the way across. (We left an air hole in the middle.)
You will want to place the 2×4’s inside your storage box so that the board is level with the top of your timber. Your new storage door will be hinged to this board. Screw the 2×4’s to the timbers.
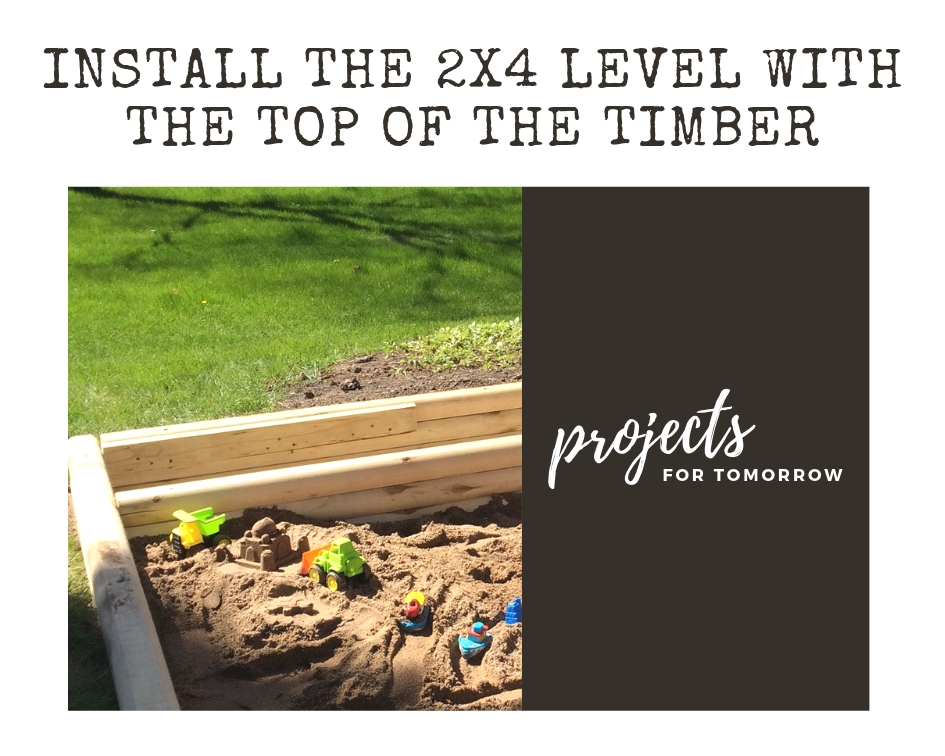
Build your Door
Next, you will want to measure how much space you have between your new 2×4 and your timber wall. Lay out your three deck boards and space them evening on two cut 2×2 boards. These boards should be cut length wise shorter than the full length to account for the 2×4 at the end (in the next step). You will use long screws to screw through the 2×2 boards to the deck board. (don’t let the screw go all the way through though.)

Once your door is built you can use a hinge to secure it to the 2×4. The door will still swing to the ground so it needs to be propped up by a second 2×4 on the timber wall side. Measure the thickness of your door and screw this board into the timber wall so that your door is level across. (This step needed four hands, but maybe you can come up with a better way to do it.)
Make note: we added a second smaller board underneath the door on the hinge side to add extra support for little feet stepping on the doors.
Connect Door to Sandbox
Once you have one storage door in place, you can work on the other one. I would recommend doing at least two doors as they become very heavy for the little ones to open. We used torque hinges to combat the heavy doors.

On another note, if you buy all treated wood, there is no need to stain or paint your sandbox.
Buy the sand
You of course could go and buy bags of sand; however, a dump truck full of sand will go a lot farther and cost you less. We went to our local supply company and purchased about 48 sq ft of washed sand for 35 dollars. Add in the $70 delivery charge and you just bought a sandbox worth of sand for just over $100.
Note: your local company will tell you how much sand you need for how ever big you make your box.
Our sand delivery was dumped onto a tarp in our driveway and then we “wheelbarrowed” it back to the sandbox. Kids excitedly played in it the whole time we were unloading it.
We also added rock pebbles to the storage bin as a good base for the toys.

In Conclusion
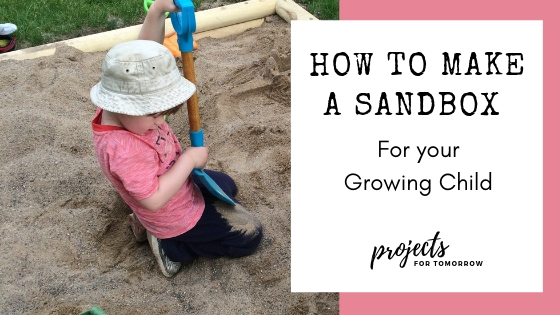
What’s nice about a big sandbox is that your kids can use it for multiple things. You can buy a digger. They can drive little dump trucks around. They can use your garden hose and make rivers through the sandbox. It can be hours of fun for your kids and they can use it year after year.

Above all, I hope you enjoyed this tutorial on how to make a DIY sandbox. Remember the more you prepare, the better the outcome.
Helping you prepare for tomorrow,
~H.



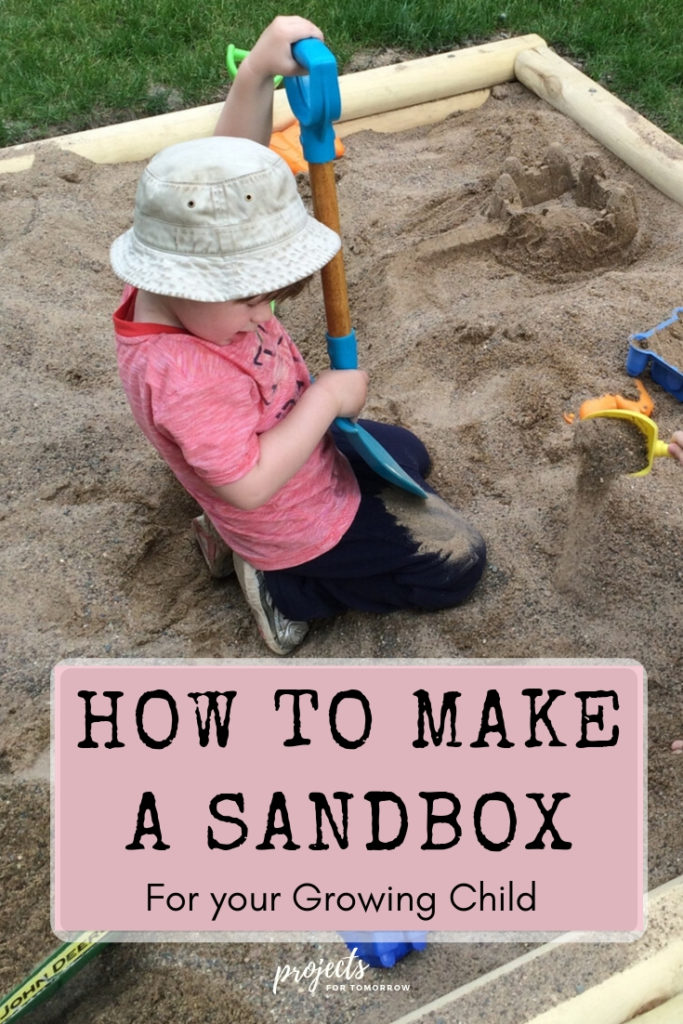
Making a sandbox for your growing child is not that difficult, and I think it’s an excellent way to get your child interested in architecture. I want to know what my other friends feel about this.