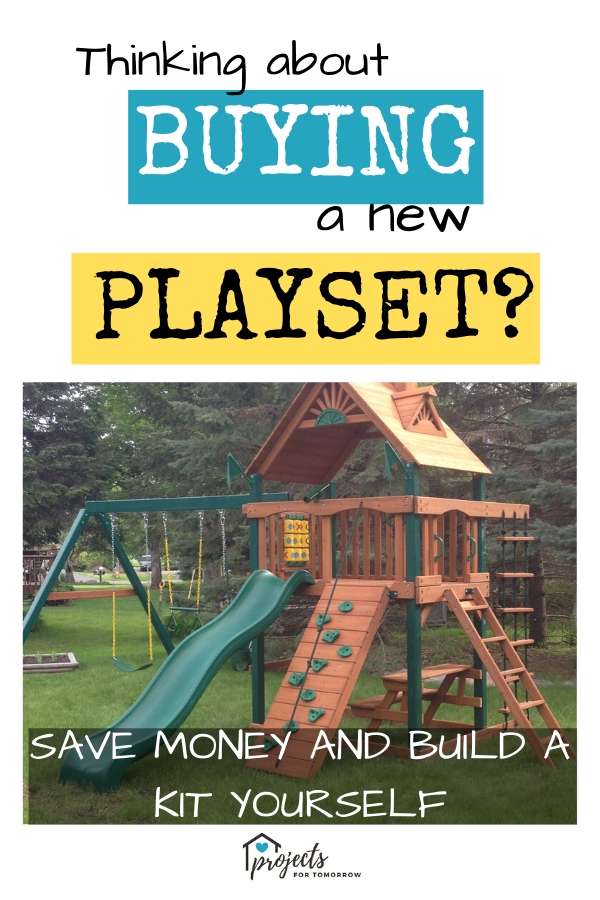
Are you looking at purchasing a new playset for your child?
If you have the budget for one, buy a pre-made ready to assemble playset.
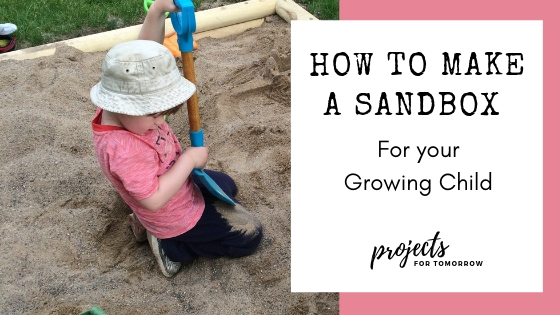
While I advocated designing and building your own sandbox, I do not condone designing and building your own playset. Safety should be a top priority as your children would be climbing on structures off the ground and specific knowledge is required to design and build something that can withstand weight and rough play.
When you buy a pre-made ready to assemble playset, you have two options. You can pay someone to come out and assemble it or you can save a few hundred dollars and put it together yourself.
Keep reading to learn what to expect from assembling your own pre-made playset, what tools you will need and some helpful tips to make a successful assembly. By the end of this article, you should know how confident you are in taking on this DIY task yourself.
What are the benefits of a playset?
Let’s start with why kids need playsets.
- First, the obvious reason, kids need exercise. Their little bodies need to move around and grow and develop muscle.
- Giving a child an environment where he or she can choose his or her activity and pursue “make believe” play will help develop autonomy and creativity.
- A playset is also a great place for social interactions. Having a defined space for playdates will help your child grow socially.
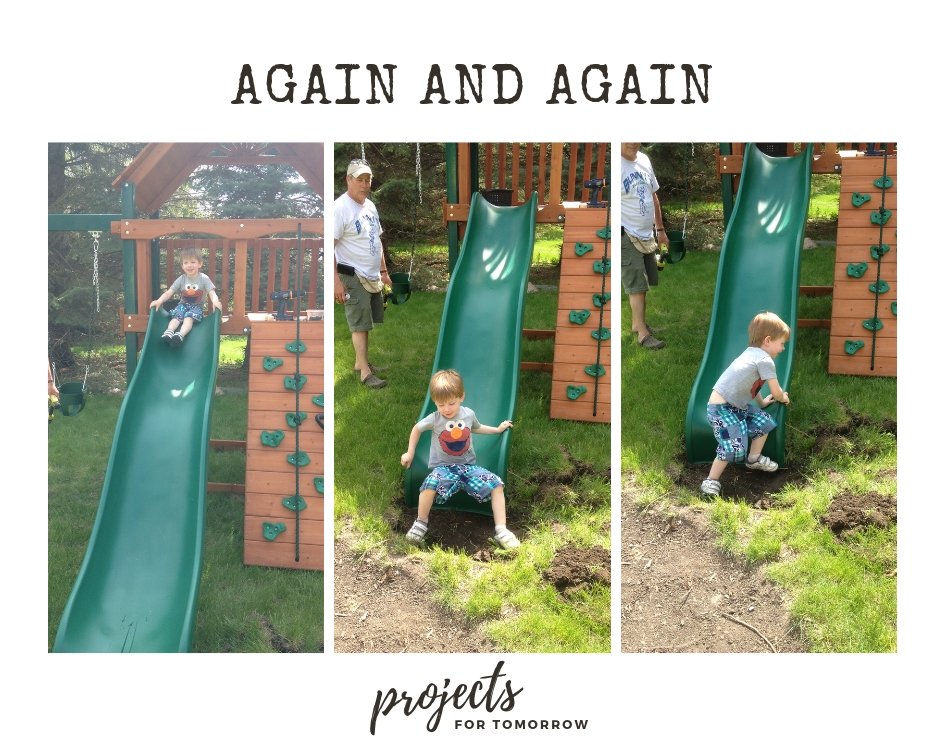
- Let’s not forget to mention the FUN they will have too.
Where to begin?
Before you decide to buy your kid’s dream backyard,
- Check to see if you need to apply for a building permit with your local government. Fortunately, a permit was not required in my area.
- It’s also a good idea to contact your local utility company and have them check and identify underground wiring near your desired playset location. In my area, the utility company will mark the wiring with flags and spray paint. You may find yourself digging down into the ground and you don’t want to find any surprises.
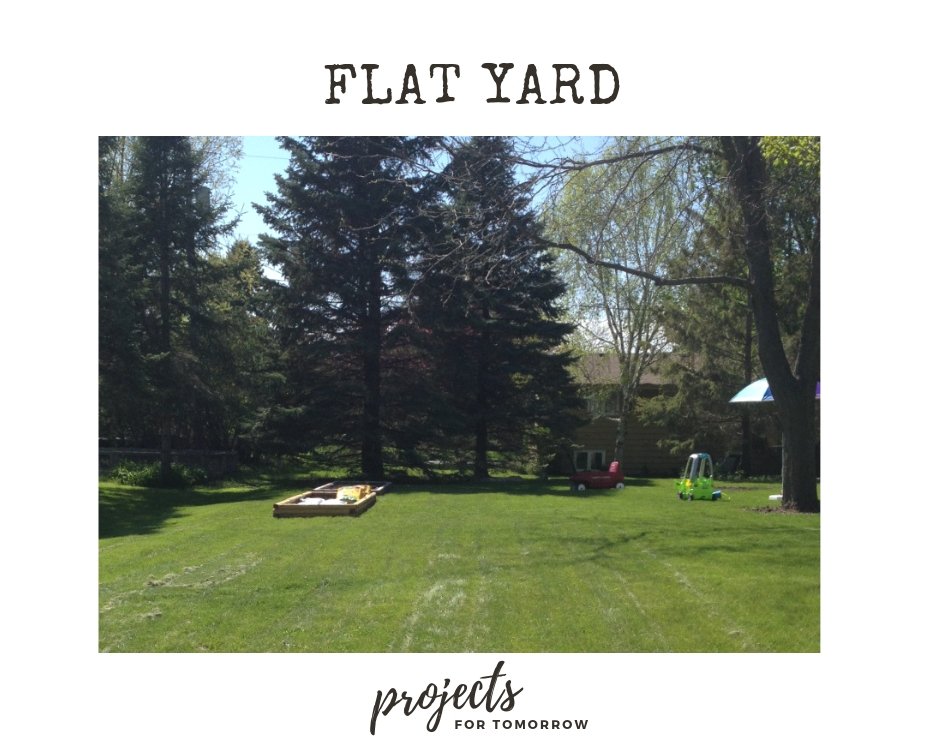
- Check to see that you have a flat area in your yard in which to put a playset. It needs to be relatively level.
Where to buy?
While I like to send you tidbits on what and where I buy my products, do know that if you click an affiliate link on this page and make a purchase, I may earn a small commission at no additional cost to you. See my disclosure policy here.]
Most big box stores will have home playgrounds as well as most on-line vendors. You can find playsets in showrooms and at big home and garden shows.
There are many price ranges of home play sets and you will need to choose one based on the size of your space, the quality that you so prefer, and the budget in which you have. Playsets can typically run from $900 up to $15K.
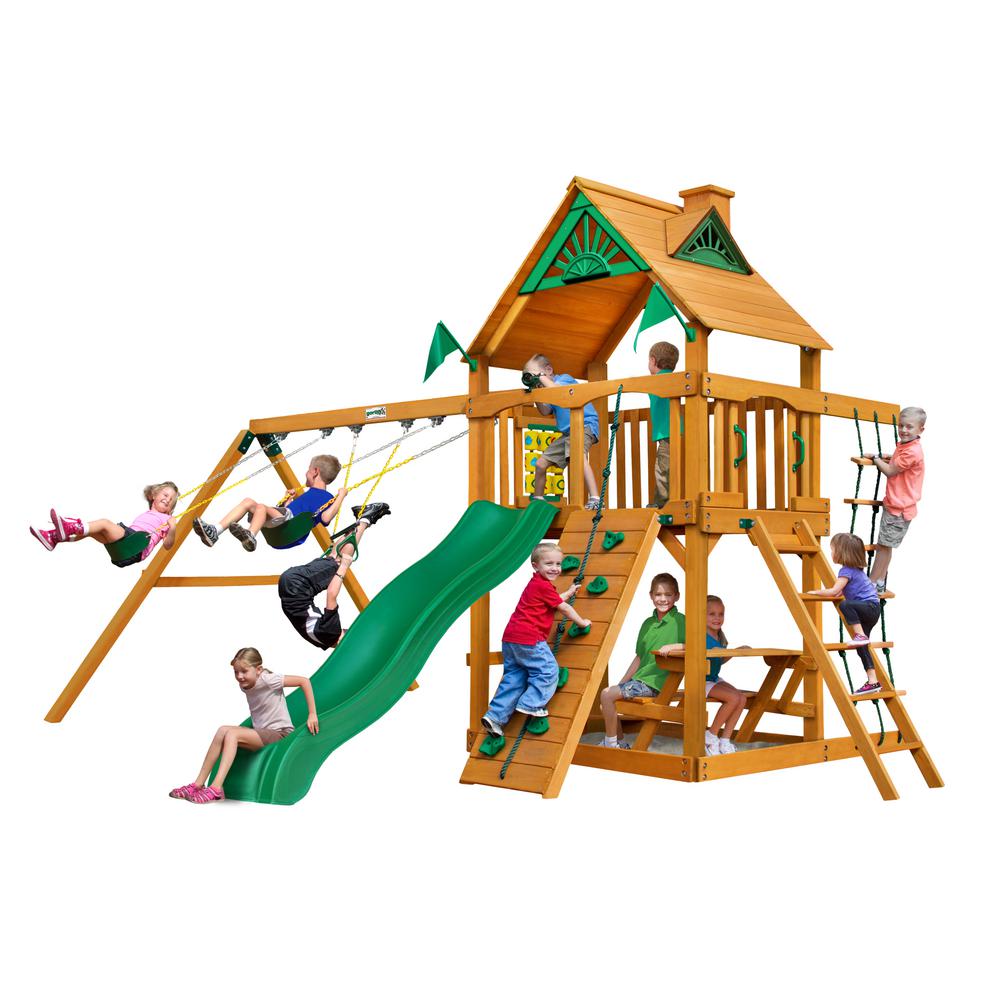
I typically shop on Home Depot’s on-line marketplace. They include many playground options, but I prefer Gorilla play systems for a good balance in quality and price.
Click on the image for more information on the particular model I purchased.
Scheduling your Build
After you buy your playset, you will be contacted by the delivery company with an estimated delivery time.
Now that you have your delivery window, you can build out your schedule from there.
Decide on which weekend you will put it all together. Then, give yourself a week to get organized. You need time to prepare and complete tasks ahead of the big day.
Tasks before the big day
Before delivery, set up some space in your yard or garage for all the boxes. Depending on the size of the fort, this could take up a lot more space than you think. You can always store the plastic slides under a tree or a deck.
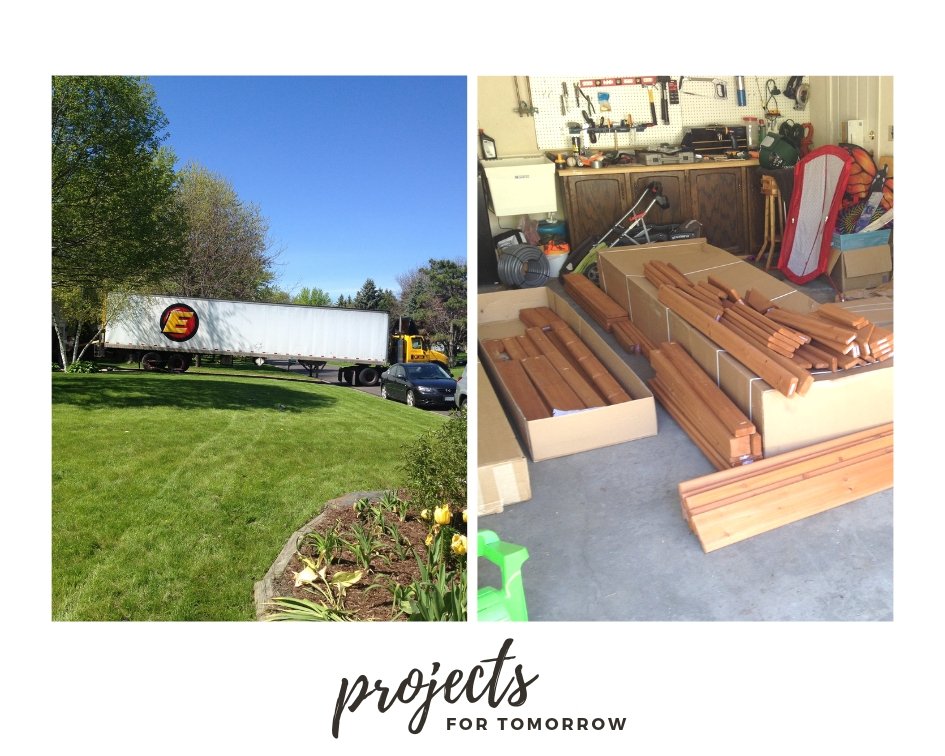
Next, empty the contents from the boxes, and check to see that all pieces are accounted for.

Briefly read through the instructions to get an idea of what you are in for. Depending on how many steps you have, i.e. how big your fort is, will determine how long it will take to assemble.
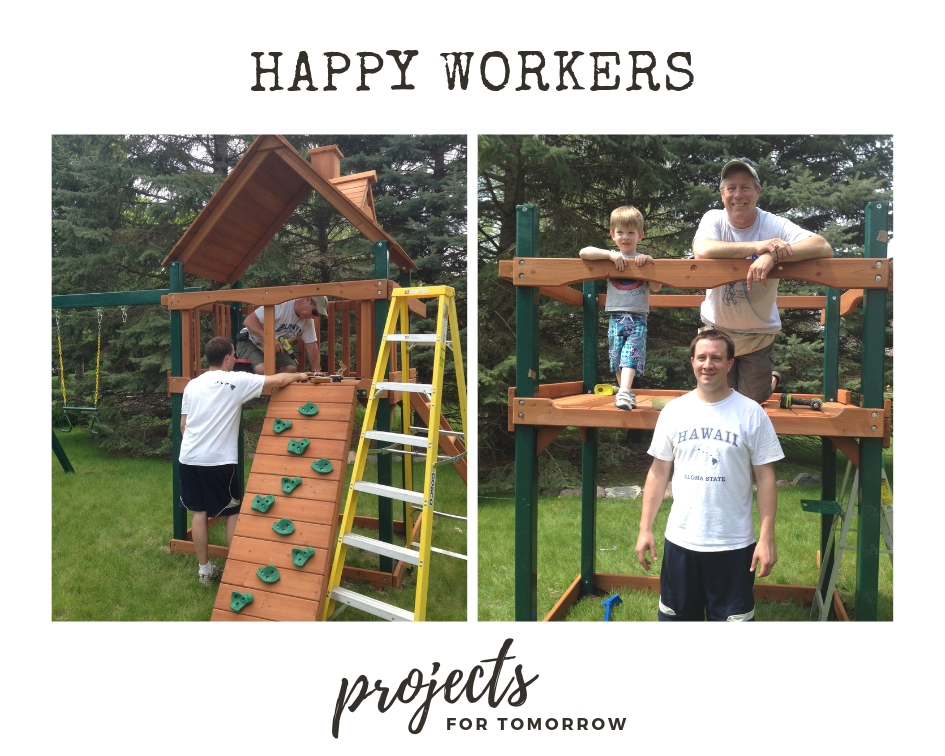
To split up the work load, look for items that you can pre-assemble before the big day and assemble them. We were able to put the ladder and the rock wall together during the week.
Don’t feel you need to take on this project yourself; ask for help. Ideally, you have 2-3 solid helpers for the big day. And don’t forget your babysitters, young kids itching to play on their new playset need supervision!
Assembly day is here!
I would suggest starting your morning off right with coffee and a good breakfast. The project for us was expected to take 6-8 hours.
- Create a perimeter around the assembly site. Use wood stakes and string to rope off the area that the playset will fill in.
- Set up card tables to hold tools and hardware.
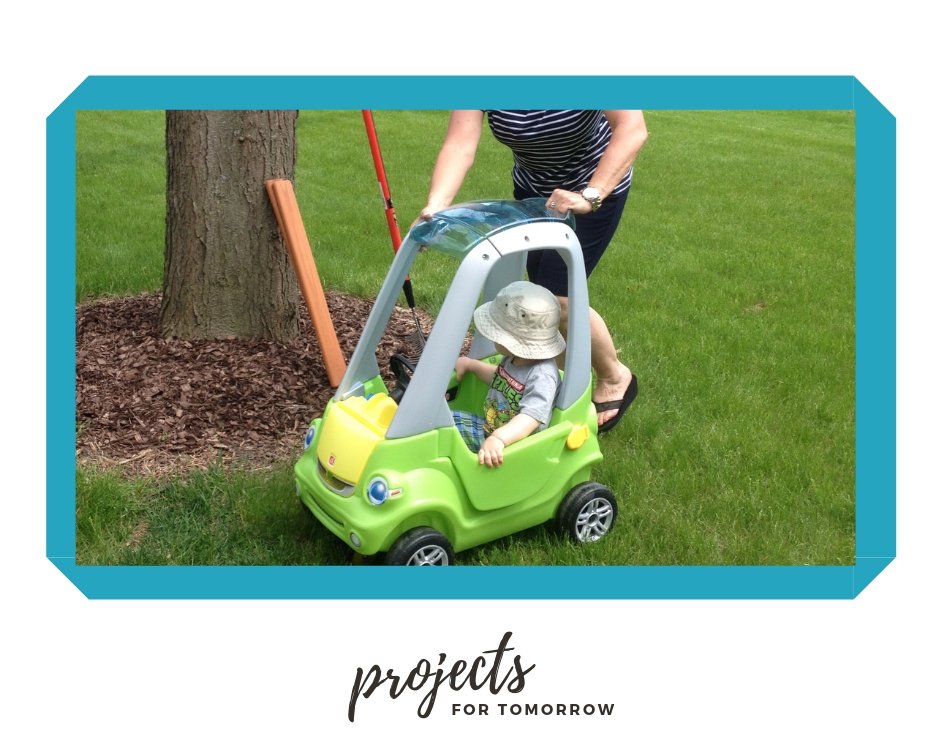
- Place a water dispensing jug nearby. You could even designate your child to be in charge of distribution. He/she will love having a job.

- Set up roles for each of your helpers. One is on kid duty, one has the drill, one is reading the instructions, etc.
Your Instruction Reader should already be acquainted with the instructions and have a familiarity with the process before the big day.
I put this role on myself. Each step throughout the day, I was able to explain what needed to happen and supply the necessary material for each step of the process. Then when the helpers were assembling one step, I would get the next step ready. I’d interchange small Tupperware containers with the correct hardware and would identify the correct wood pieces.
This process eliminated a lot of downtime and confusion and the assembly was always moving.
The kids’ supervisor had the most important job!
Tools that you will need to assemble a playset:

- Level
- Drill and drill bits
- Shovel (for digging)
- Extension cord
- Ladder
- Deep well socket wrenches
- Tape measure
- Hammer
- Pencil
- Sand or wood chips (for the sandbox)
Conclusion
A home playset will add so much value to your childrens’ lives. Get yourself acquainted with the process of assembly and you can make it happen too.
See if assembling a pre-made playset is right for you and your budget.
You are not just building a playset, you are building memories.

Knowing what you can expect is half the battle in feeling confident that you can accomplish a project yourself.
Helping you plan for tomorrow,
~H.
Need more information? Check out this Home Depot article for additional tips on Installing a swing set.
Interested in building a sandbox, click here or on the image below.
Please share on Pinterest so someone else can learn it too. Thanks!