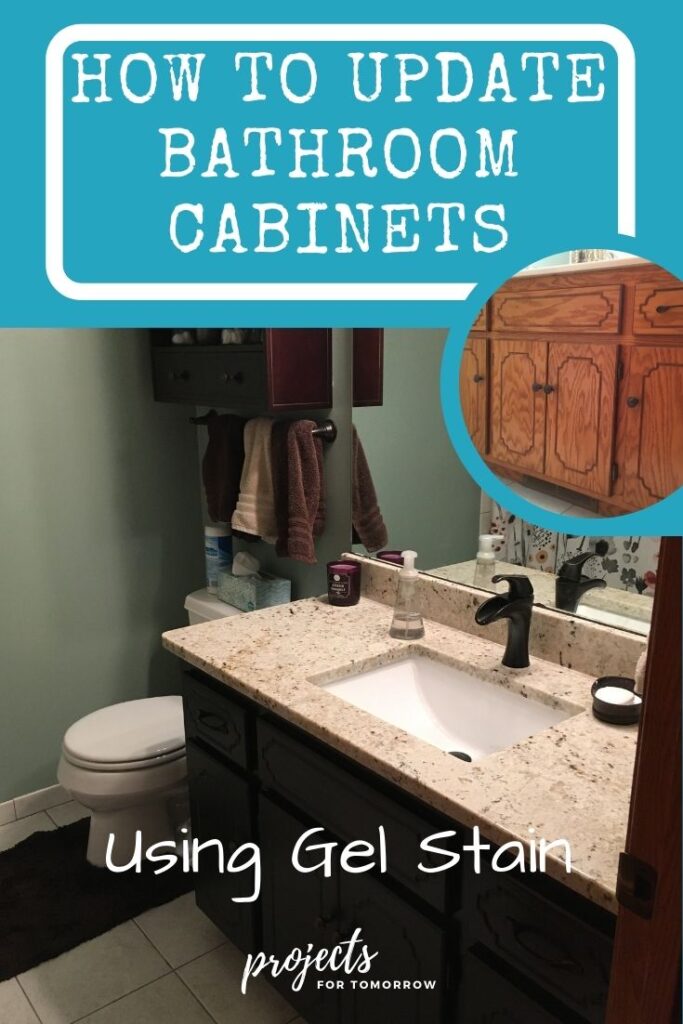
These 1990’s bathroom cabinets scream outdated, but they are functional, spacious, and solid. What do you think of the orangy oak?
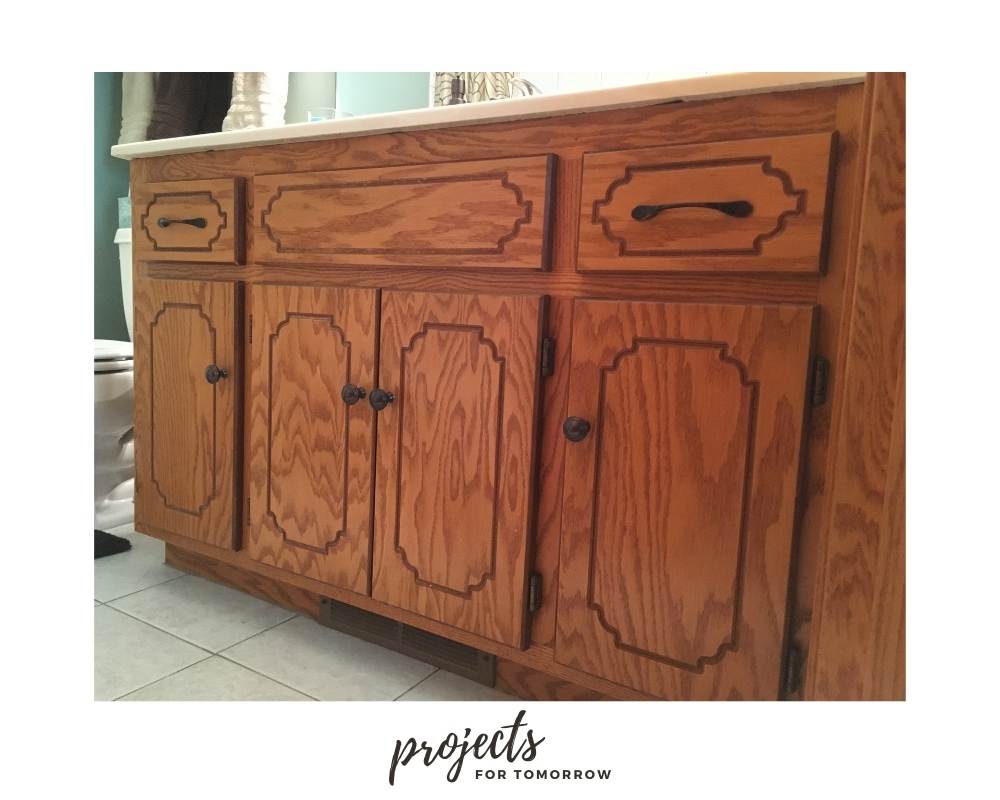
If you are in the process of getting ready to sell your home, or you just can’t stand your bathroom aesthetic, you might think about replacing your bathroom vanity.
At first, I combed the internet for replacement options. I found that bathroom vanities were overpriced or out of stock.
I also looked at just replacing the bathroom vanity doors, but these too were at least $50 per door.
The best bang for our buck was to paint the bathroom vanity cabinets with a gel stain. We went with a dark color to help the outdated inlay in the doors fade more into the background. Better?
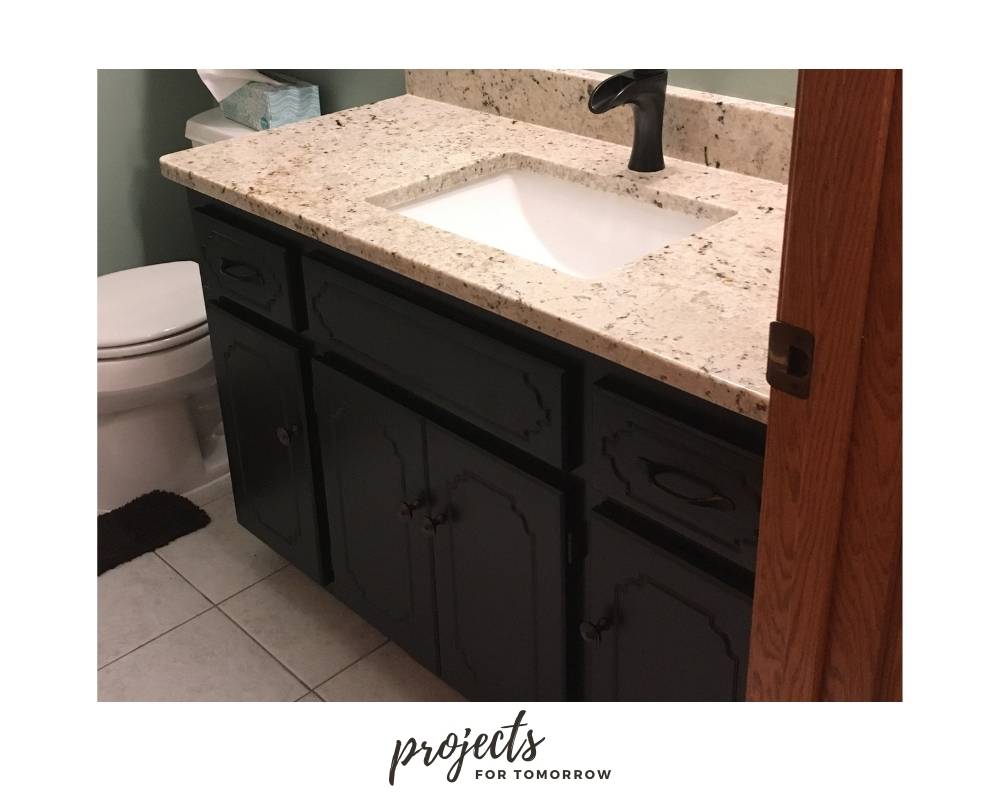
We still put money into the bathroom but we spent most of our budget on a granite countertop, new sink and faucet.
Updating your bathroom vanity may be time consuming, but this home project is simple and affordable.
Today I am going to walk you through the steps that I took to paint my bathroom vanity and share what I learned. Maybe you also have a hideous bathroom vanity color that just needs a little paint job.
Secondly, I will walk you through the steps that I took to replace the countertop. If you don’t need to paint, but just want a countertop replacement, click here to skip down to that section.
I will also share my shopping list with you at the end.
While I like to send you tidbits on what and where I buy my products, do know that if you click an affiliate link on this page and make a purchase, I may earn a small commission at no additional cost to you. See my disclosure policy here.]

Steps to Paint a Bathroom Vanity
Step One
Anytime you start a project, it’s a good time to think about organization and function. Start by cleaning out your vanity.
- Throw away anything you haven’t used in a year.
- Clean out the drawers with a disinfectant wipe.
- Decide if the items in your vanity should be IN your vanity or if there is additional space for something new.
Once cleaned out, you can put everything back in your cabinets. Just push everything back a little so you have space to paint.
Step Two
Remove doors and drawers from the cabinet box. I will call these the cabinet “fronts” going forward. Take off your pulls, knobs and hinges with a screwdriver.
Step Three
Prepare your surfaces for paint.
Be sure to clean and sand every surface that you will be painting. Then use a dust cloth to remove any sanding dust. Don’t forget your mask when you are working indoors.

Step Four
Prepare your work station.
You will need a large ventilated area with enough plastic to protect and a work space away from the wind and the sun. (I started out in the shady grass but then moved into the garage because of the wind.)

Step Five
Time to paint the cabinet fronts.
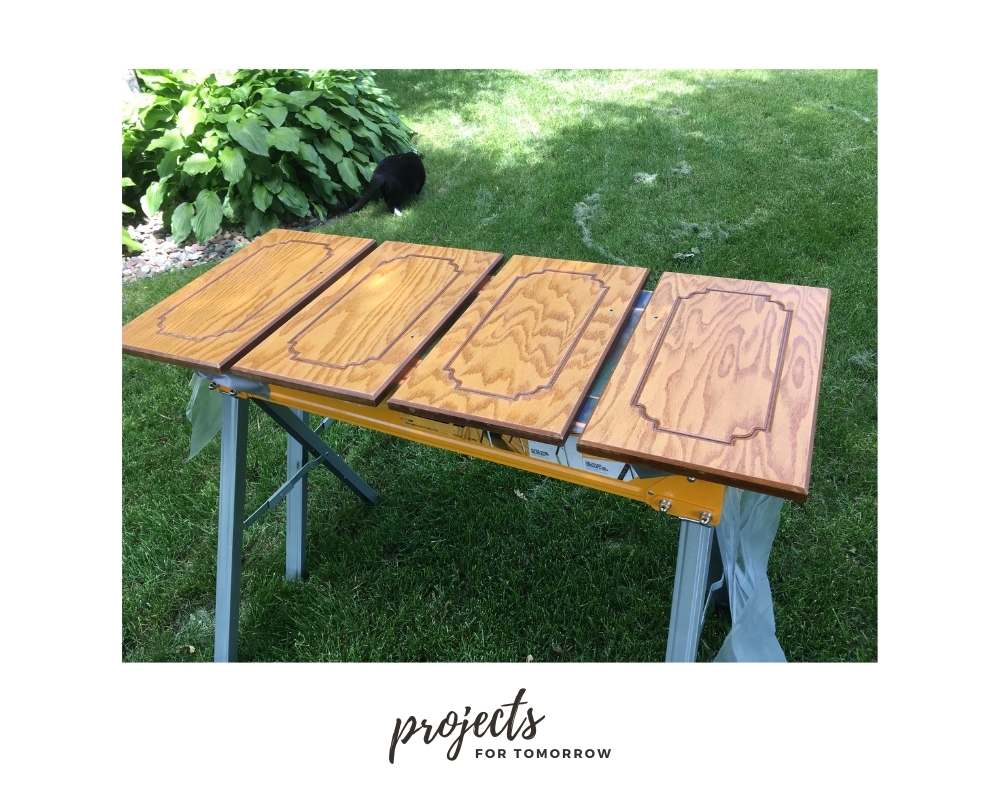
My goal with the first coat of gel stain paint was to put down a nice thin layer and not leave any big gobs of paint in the inlays.
I started with a foam brush, but eventually moved to the larger synthetic bristle brush. Next time I think I will roll the fronts, and then go back over them with a brush so it doesn’t take quite as long.
Step Six
Let the paint dry.
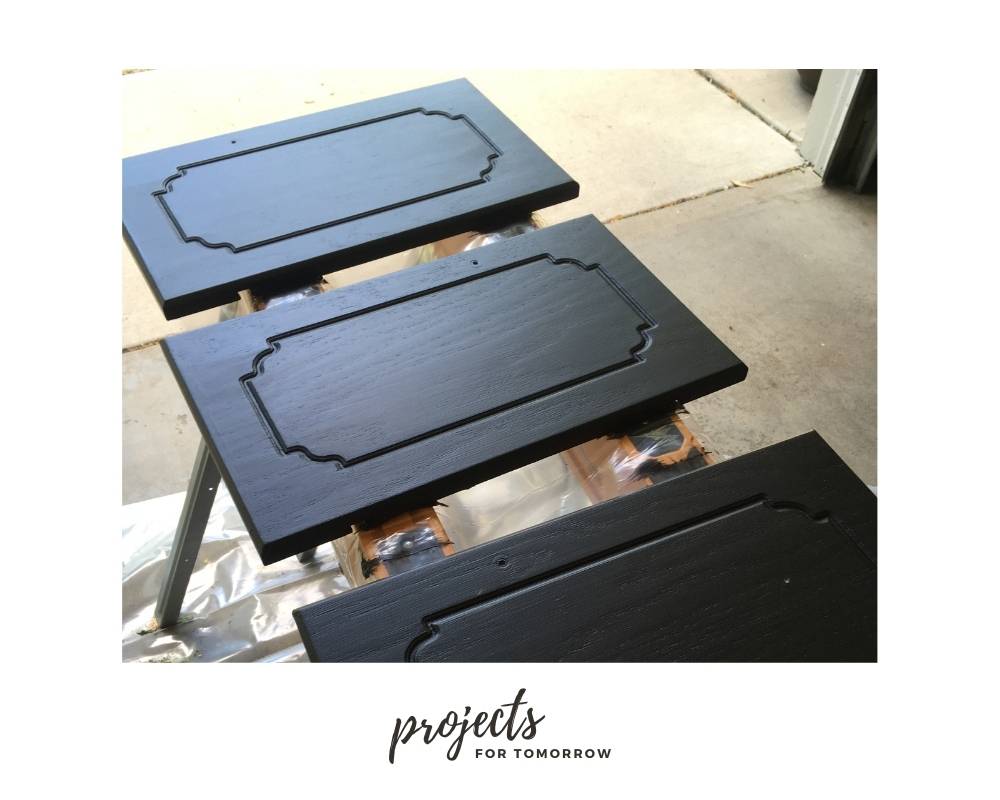
You will find yourself rushing this step. One, you want to finish this project all in one day, and two, your work station will likely be in the way.
While your fronts are drying, you can go back to your bathroom and start on your cabinet box.
Step Seven
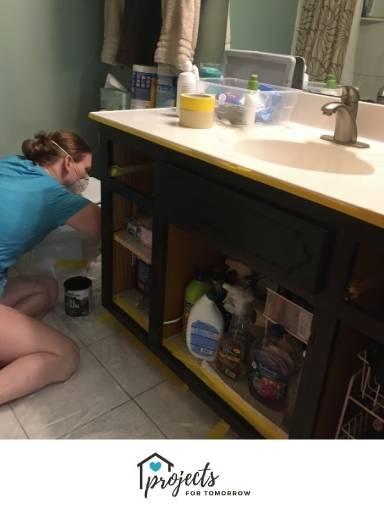
Use tape to protect anything you don’t want painted.
Gel stain is a little more goopy than paint and cutting in will be more difficult. Protect the floor, walls and insides of your cabinets by laying down painter’s tape.

Be sure to paint back to front so you don’t get paint on yourself. And start in one corner and work your way around.
Step Eight
Once the fronts are dry, lightly sand them with an extra fine sanding block. I like to use these. And then use your microfiber dust rag to clean off the dust.
Apply a second coat of gel stain.
Grab your brush and give the fronts a good second coat, focusing on having no big globs of paint in the inlay or big drips falling down the sides.
Another way you could paint the doors is (at this step) turn them over and paint the first coat on the other side but that’s just not what I did. I painted the fronts first, twice, and then painted the backs, twice.
Step Nine
Go back to your cabinet box. Once dry, sand and wipe down the cabinet box. Give it a good second coat of gel stain, again focusing on drips.
Step Ten
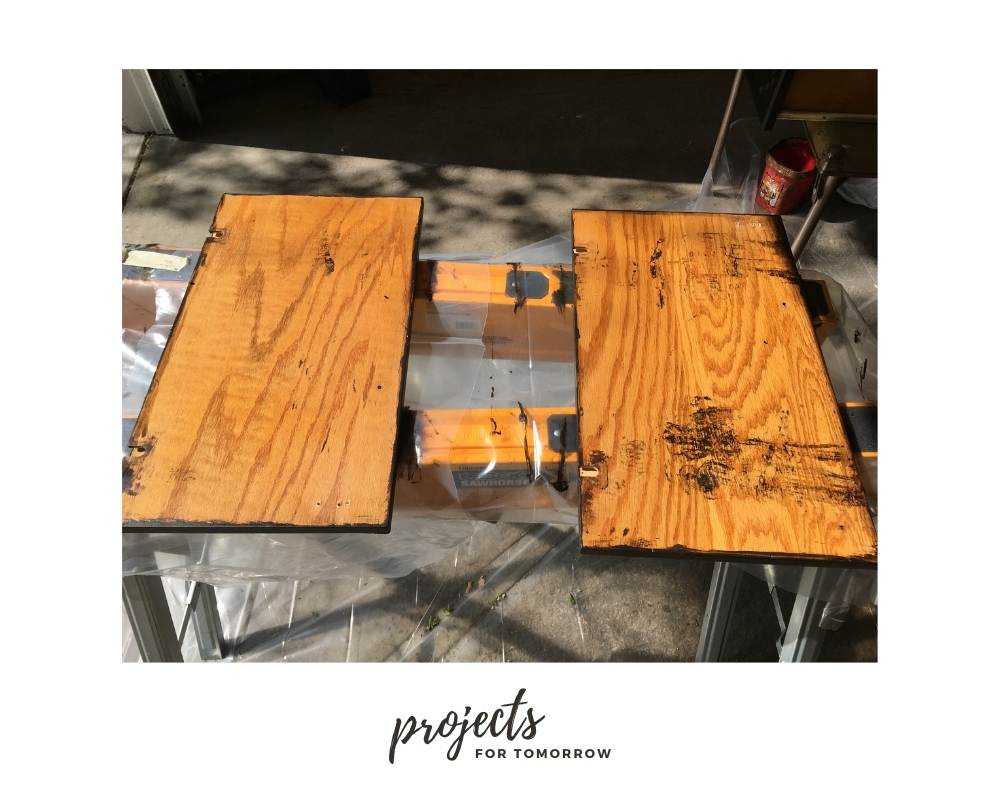
Once dry, turn the cabinet doors over and paint two coats. Be sure to paint the edges of the doors with a light coat being very cognizant of drips.
It helps to put something under the doors so they float and you can access the edges easier.
Step Eleven
Once your fronts are dry with your beautiful new gel stain, you are going to want to be done. However, unless you want to be repainting your cabinets often, you will brush down a coat or two of clear sealant. I brushed on two coats and lightly sanded between coats, so that the polycrylic would really stick. Be sure to pick up any dust with a rag before applying that second coat.
Step Twelve
Repeat top coat process with the cabinet box.
Step Thirteen
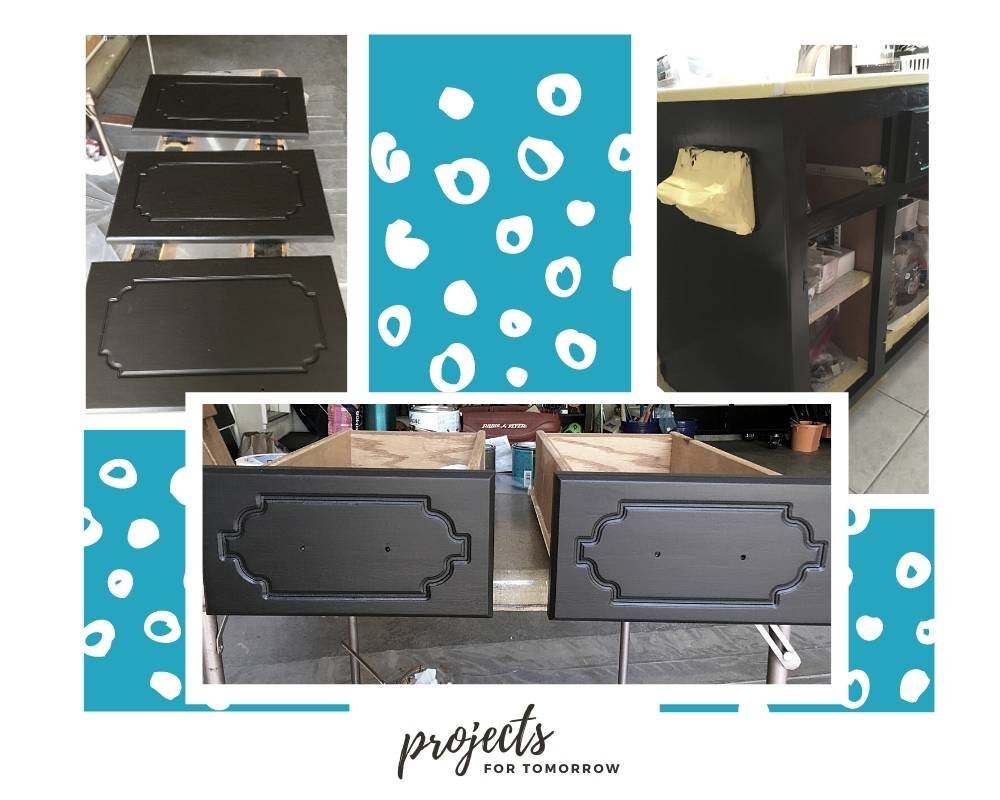
Let it all dry overnight. Don’t make the rookie mistake of having your newly painted items stick to each other.
Step Fourteen
Put back on the old hardware, or freshen it up with new ones.

Tips and Tricks
What I learned:
- The weather may play a role in dry time. For example, high humidity, like painting in the middle of July, will drag out the drying time.
- Protect yourself from the chemical fumes by always wearing a mask.
- Although stain is in the gel stain name, you are going to apply it like paint. You will be there all day if you try and wipe it off.
- While the gel stain is goopy, it will still drip. Be wary of using too much and having it leave drip marks.
- With large cabinet doors, a roller may be more useful and quicken the process.
To be honest, painting the bathroom vanity took a long time, like three days because of the drying times. But I was pretty thrilled with the results. The cabinets looked completely different and contrasted really well with our white-tiled floor.
New Countertops
If we really wanted to update our bathroom vanity, we knew we’d need to update the countertop, sink and faucet as well. This is where most of our budget went. Here is how to update your countertop.

Steps to Replace your Countertop
Step One
First off, decide what you want. Browse your options and make a purchase.
We decided to splurge and get the same granite that matched our kitchen. The price included a new sink, the granite, the granite backsplash, and the install.
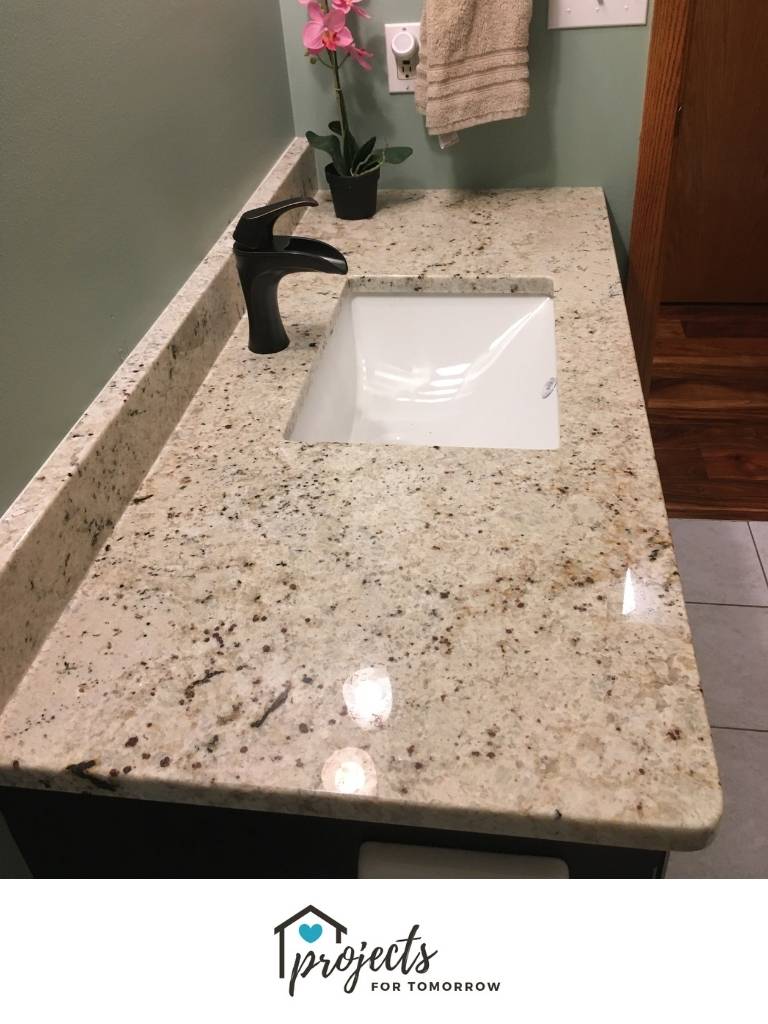
I’m sure you could find these items in a big box store and install it yourself. As we did with the faucet. We found this one at Home Depot but you can find similar one’s on Amazon here.
Step Two
Once you have your items, or a day before your new countertop will be installed, you need to take apart your existing vanity.
Our first step was to make space. We removed our “above the toilet” cabinet, as well as the large vanity mirror. This included removing the mirror hardware near the countertop. .

Step Three
Next, we disconnected our water supply to the sink faucet. It’s a good idea to have a bucket handy. First, you need to turn the knob to stop the water. If you need further instruction on how to do this, please refer to You Tube for a more visual tutorial.
Then, remove the faucet and drain from the sink.
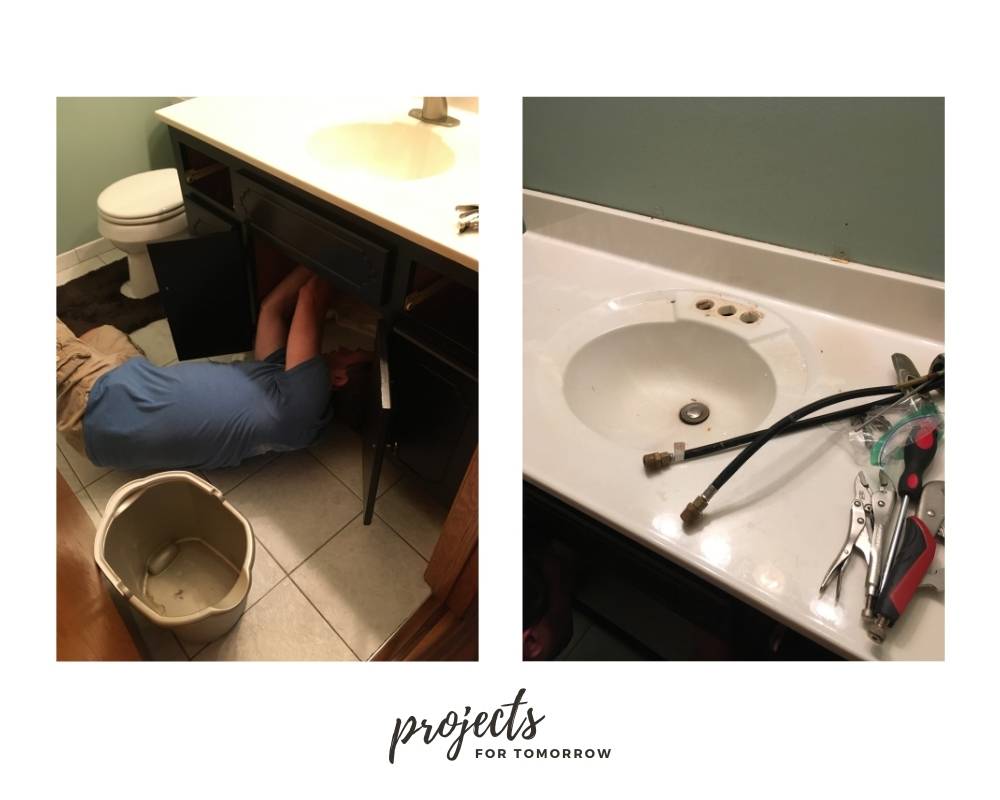
Step Four
Disconnect the countertop from the cabinets.
You will most likely find screws and glue holding the countertop to the base cabinet. Use a screwdriver to unscrew from underneath.
If needed, lightly tap a hammer to dislodge the countertop.
With a partner, carry the countertop to the dumpster (or to your pile of trash you’ll dump later).
You may want to clean up the left over glue with a putty knife and use a shop vacuum to collect the dust.
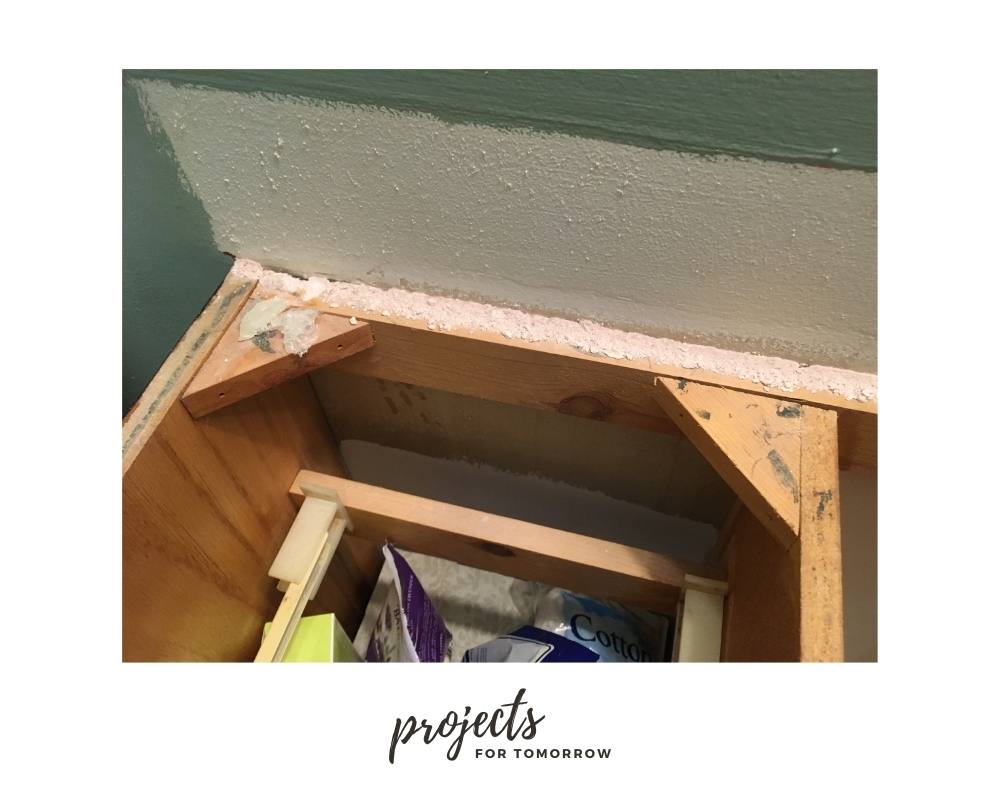
Step Five
Install your new countertop and backsplash either DIY or professionally.
Step Six
Install your new faucet and hook up your plumbing.
Again, use a professional if you don’t feel comfortable doing this step yourself.
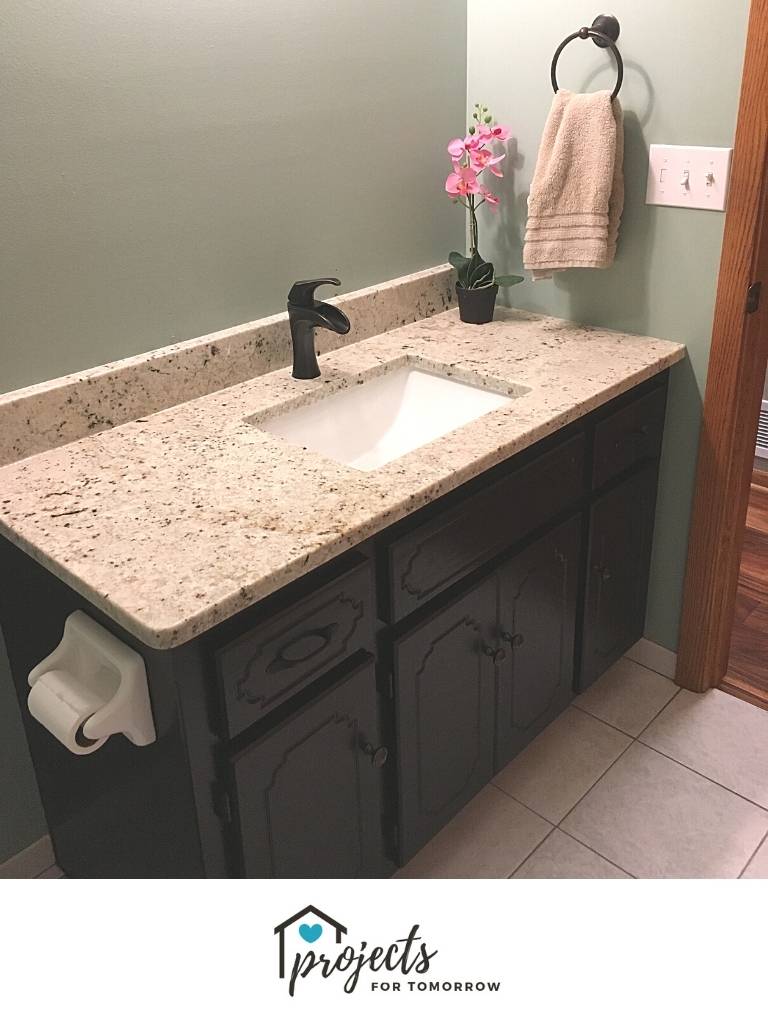
Step Seven
Finish up by reinstalling the items that you moved out of the way and enjoy your like-new bathroom vanity.

Here are my tools used or shopping list in case you need to pick anything up.
- Disinfecting wipes
- Plastic
- Duct tape to hold down the plastic
- 2 sawhorses
- Sanding blocks
- Dust cloth
- Face mask
- Painter’s tape
- 1 quart Gel stain
- Clear sealant
- Paint brush
- Paper towels or white rag
- Plastic gloves
- Screwdriver
- Wrench
- bucket
- Shop vacuum
- New Faucet (it’s not the exact one, which I bought in-store but it is very similar).
Conclusion
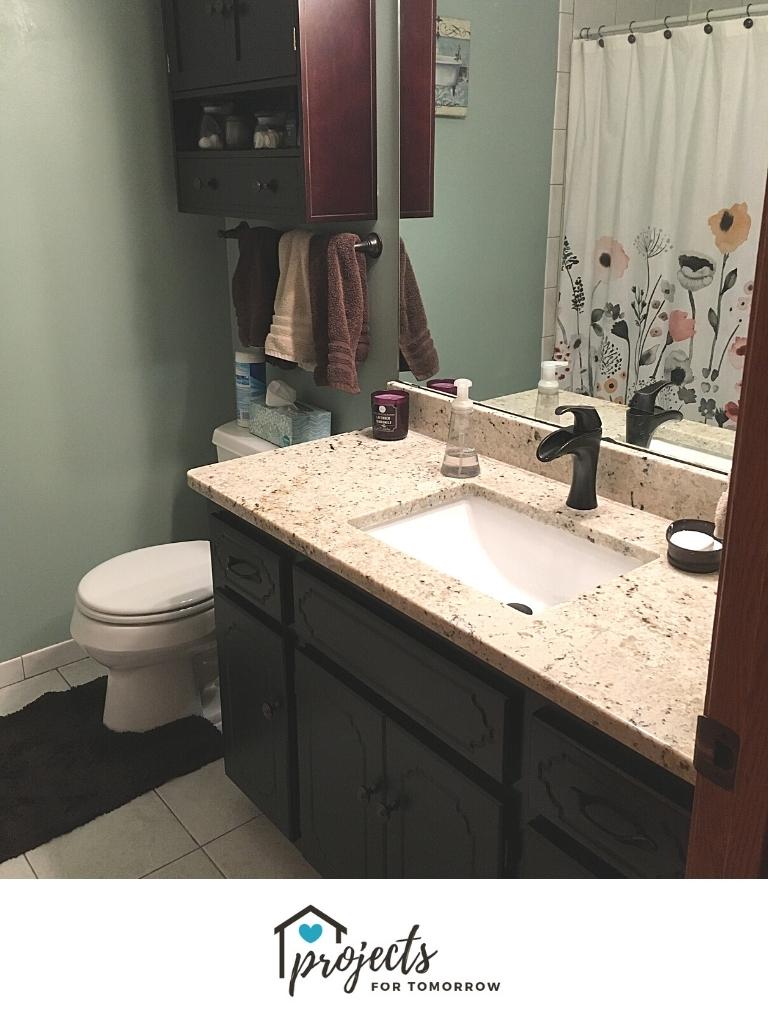
Updating your solid wood bathroom vanity may be the right option for you. If you are interested in other ways you can update your bathroom, see this post, 10 Simple Bathroom Updates Every New Homeowner Should Do.
Helping you plan for tomorrow,
~H.

Thank you for posting or sharing this article. I was able to gain plenty of information.